
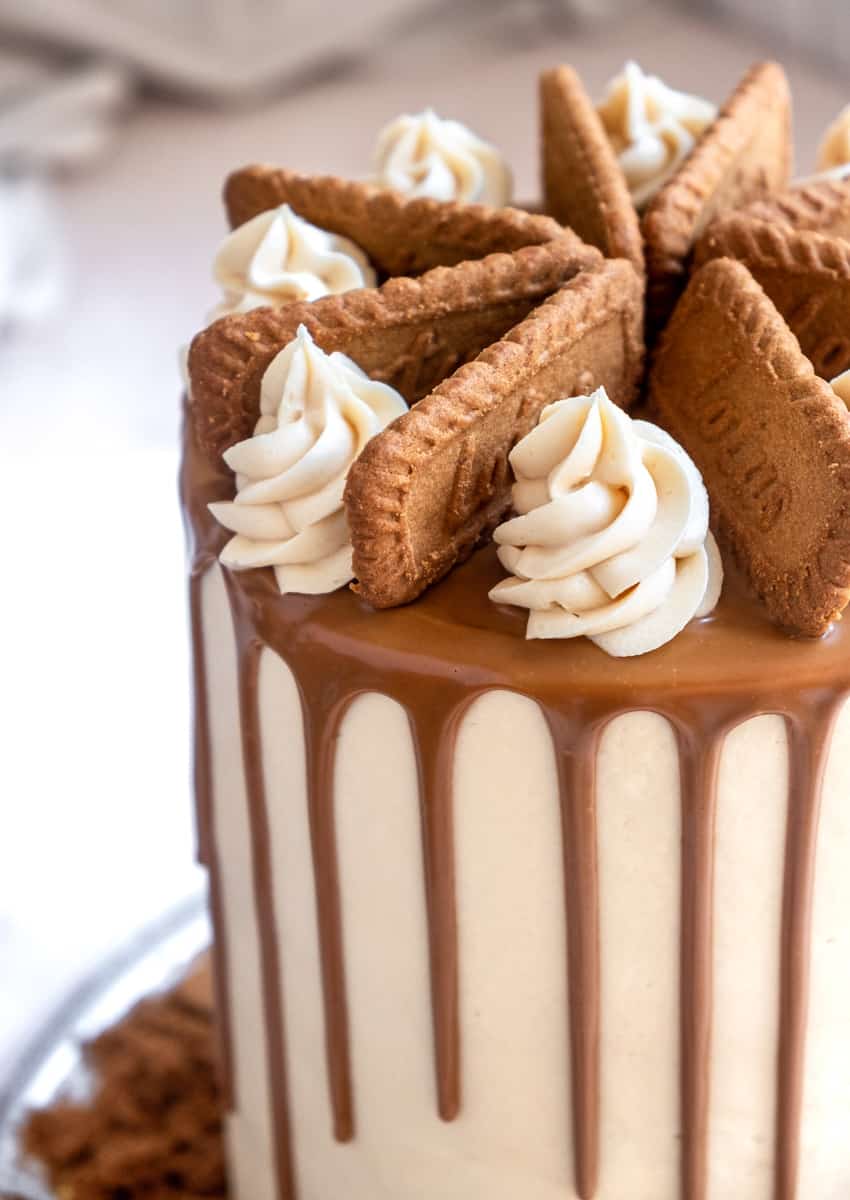
I was definitely late to the Biscoff cookie butter party, but this cake makes up for it! This is the perfect Lotus Biscoff Cake made with layers of soft vanilla and cinnamon cake and a cream cheese Biscoff buttercream. So good!
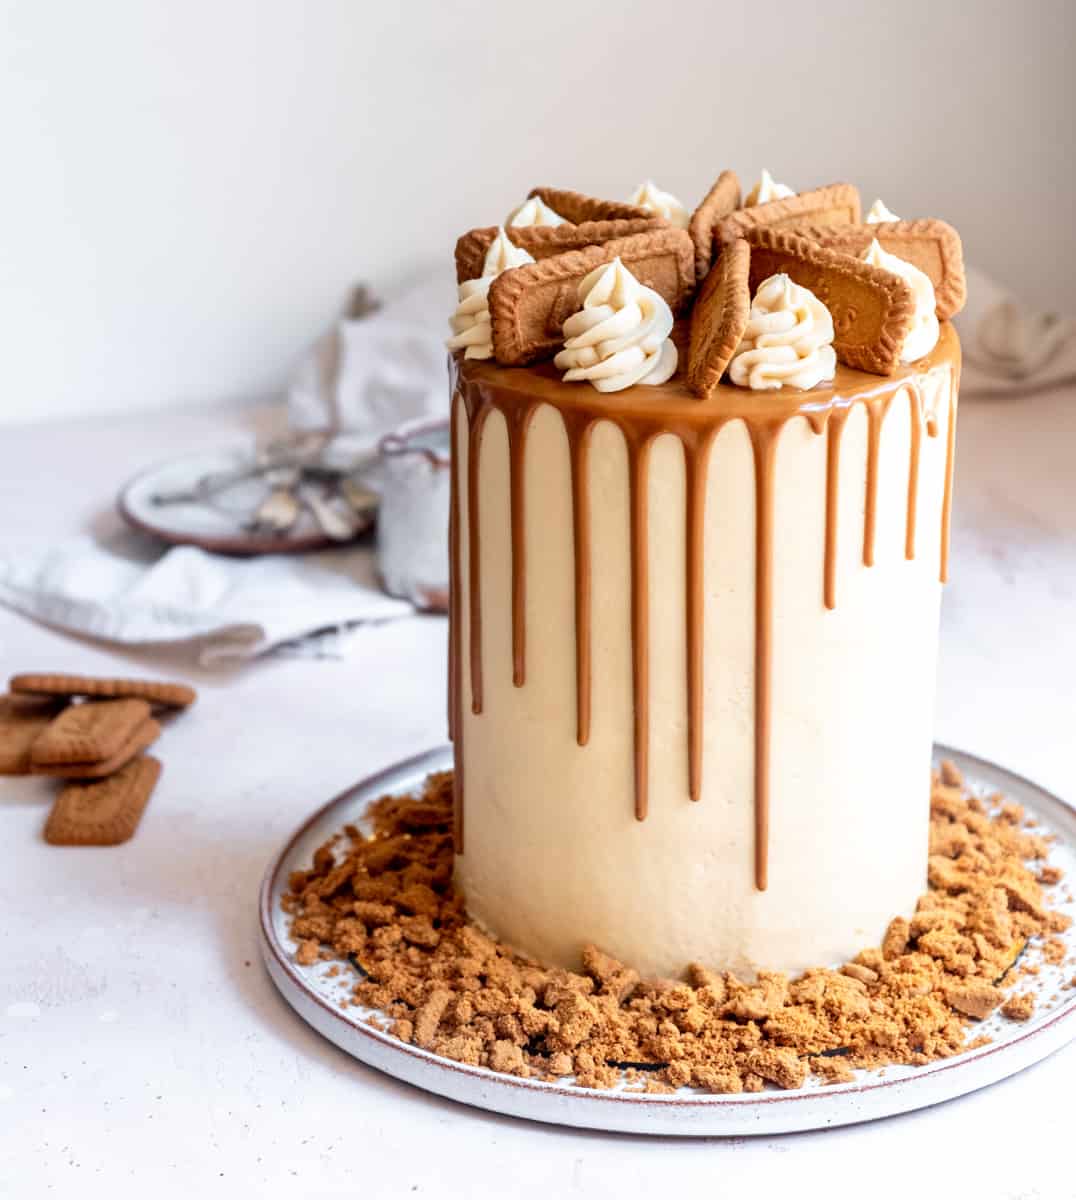
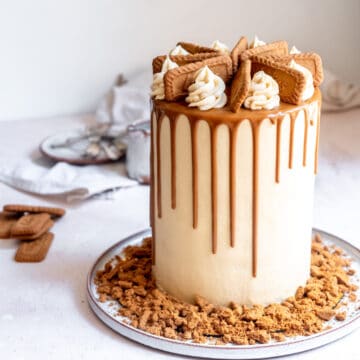
This is the ultimate Biscoff cake, perfect for a celebration. So if you are looking to spoil someone you love with an incredible homemade birthday cake, this is your recipe!
This recipe walks you through how to stack and decorate a Pinterest-worthy birthday cake. If you need some extra baking tips, be sure to read this post on Cake Baking Tips. It will really help with all your baking questions!
Jump to:
Ingredients
You will need the list of ingredients below to make this cake. Make sure you are using fresh room temperature ingredients.
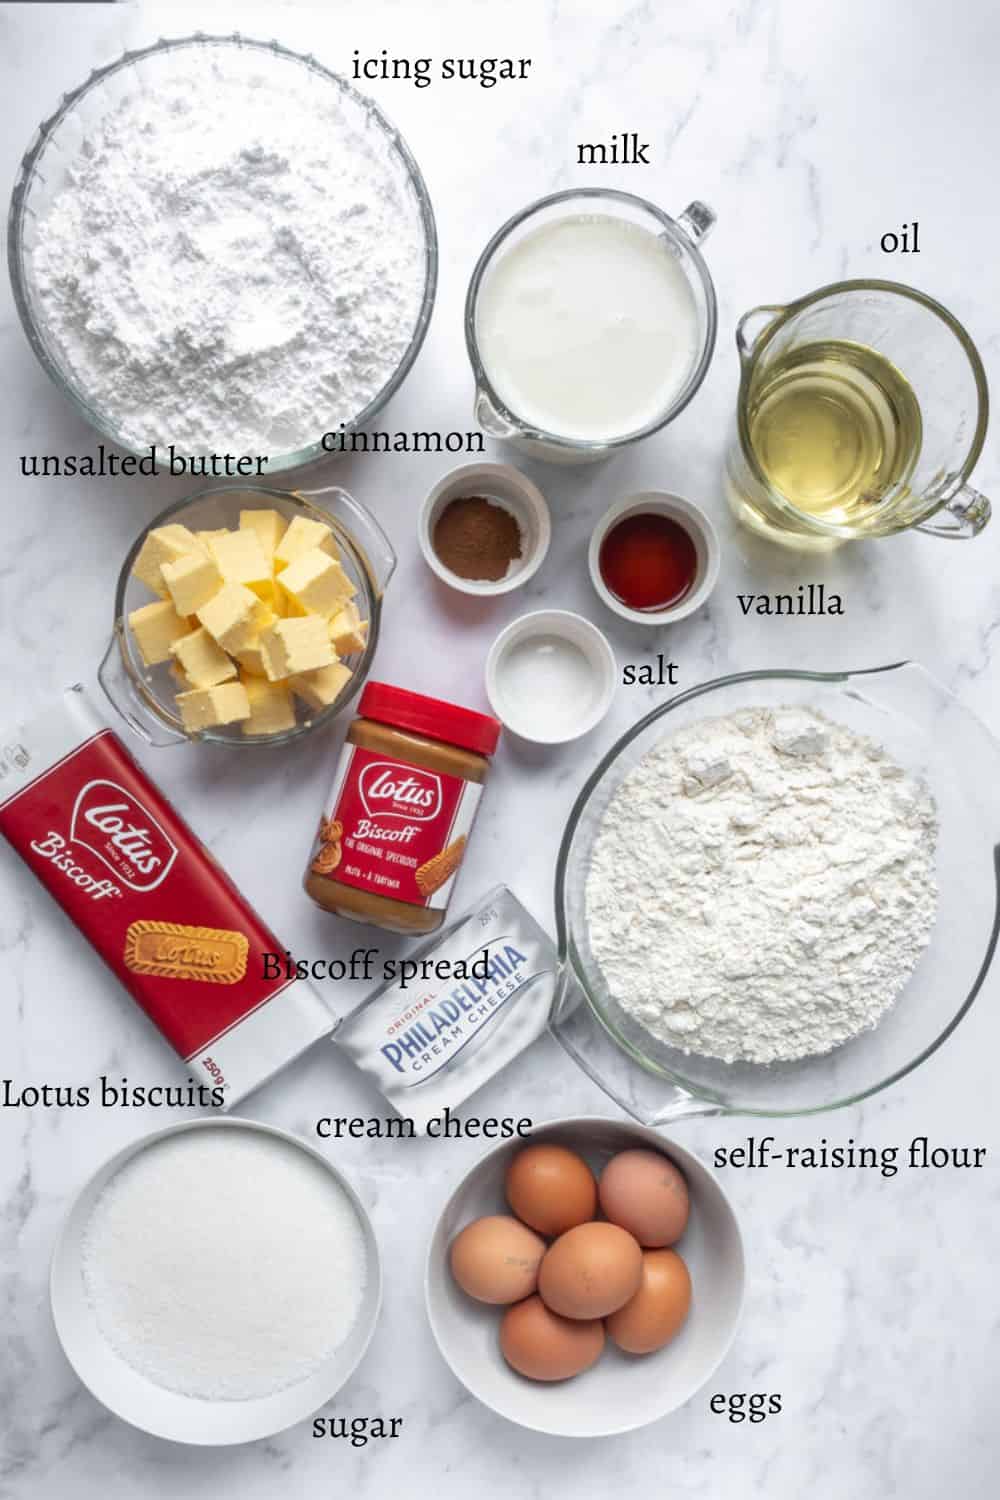
- Extra-large eggs
- Granulated white sugar
- Sunflower oil
- Self raising flour
- Salt
- Ground cinnamon
- Whole milk
- Vanilla extract
- Powdered sugar
- Unsalted butter
- Cream cheese
- Lotus Biscoff spread, smooth
- Lotus Biscoff biscuits
Self-raising flour - I use self-raising flour in most of my bakes. But you can make your own by combining all-purpose flour and baking powder. For this recipe use 580 grams of all-purpose flour and 2 tablespoons of baking powder.
Ground cinnamon - ground cinnamon is used together with the other dry ingredients in the cake batter. Using it really helps highlight the slightly spicy flavor of the lotus biscuits.
Vanilla extract - choose a quality vanilla extract when baking, rather than vanilla essence. If you can't find vanilla extract, vanilla essence is also fine.
Cream cheese - the brand of cream cheese that I use is Philadelphia cream cheese. I love the texture it gives to my frostings. Other brands will work too, but make sure that both the butter and cream cheese are at room temperature, otherwise risk a lumpy frosting.
Lotus Biscoff spread - for this recipe you will need a smooth spread. This is especially important for the Biscoff drip. Biscoff cookie butter can be found in specialty grocery stores.
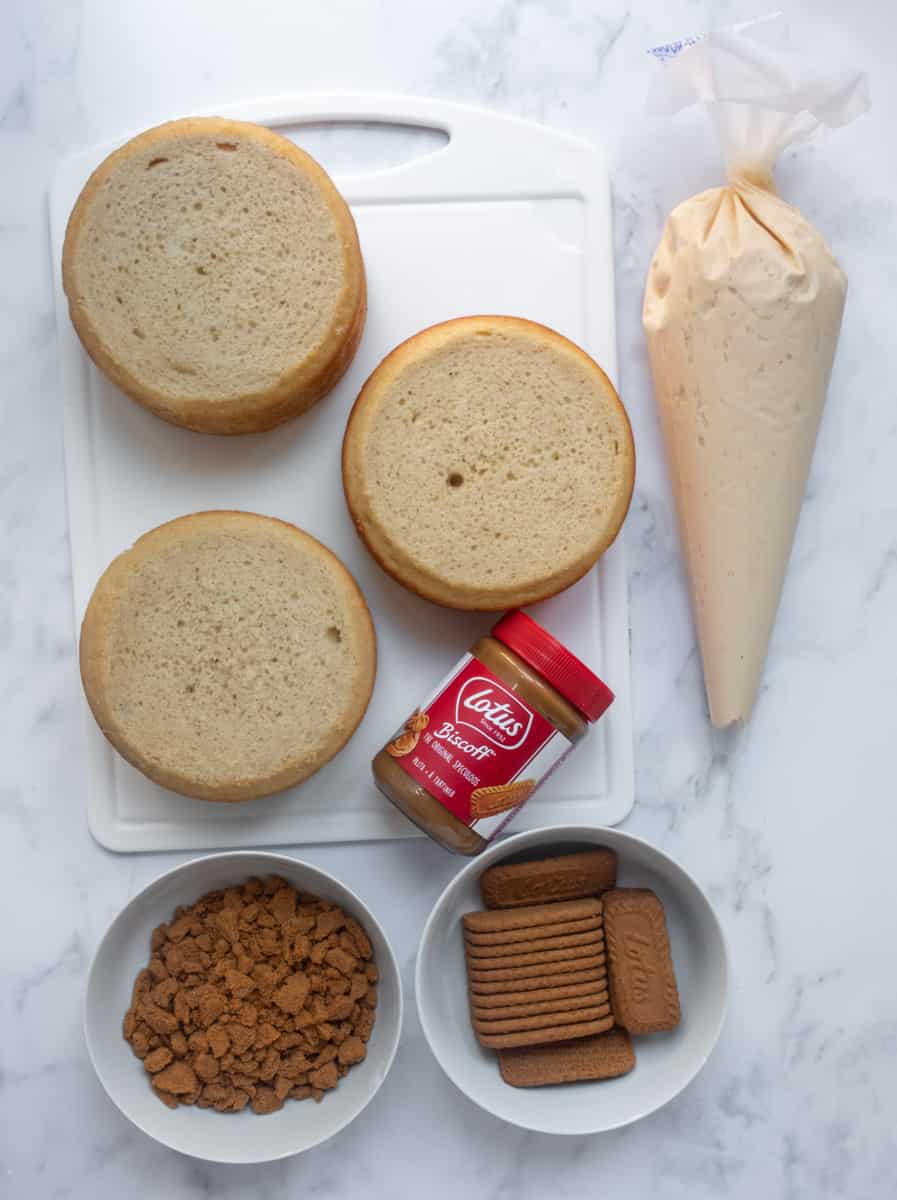
Lotus biscuits - you will need both crushed biscuits for the cake layers and also whole biscuits for decorating the top of the cake. Choose to crush the biscuits with a rolling pin rather than a food processor, as you want the biscuit crumbs to be chunky.
See the recipe card for quantities.
Instructions
There are three parts to making this cake, the easy cake recipe, the creamy Biscoff frosting, and the decorating.
When it comes to layered cakes, I always recommend making the cake the day before decorating. This way the cake can cool properly and also 'set' which makes stacking and decorating easier. This is a simple way to ensure fewer hassles when decorating this lotus cake.
Instructions for cinnamon cake
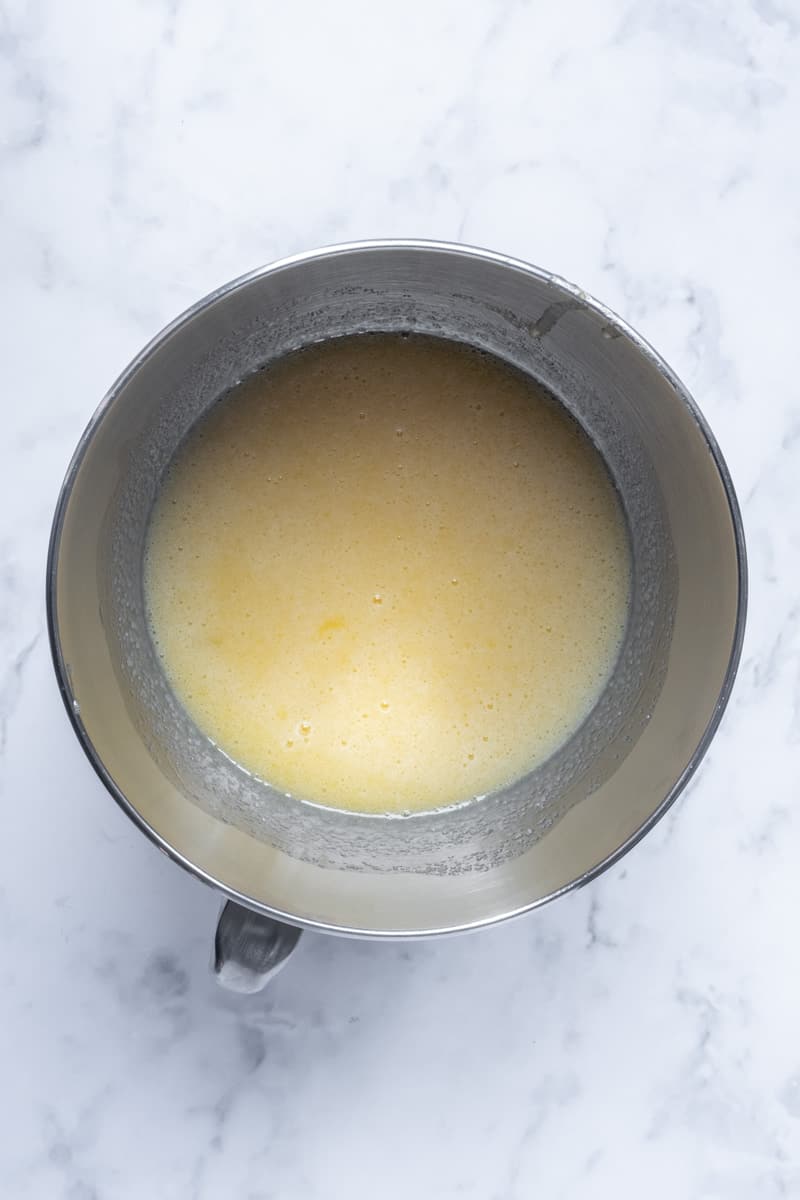
STEP 1: Mix eggs, sugar, and oil. In a bowl of a stand mixer fitted with a whisk attachment add the eggs, sugar, and sunflower oil. Beat at medium speed until combined, about 2 minutes.
STEP 2: Add the dry ingredients. In a large bowl sift together the flour, salt, and cinnamon. Add this to the egg mixture at once and beat the two together until just combined.
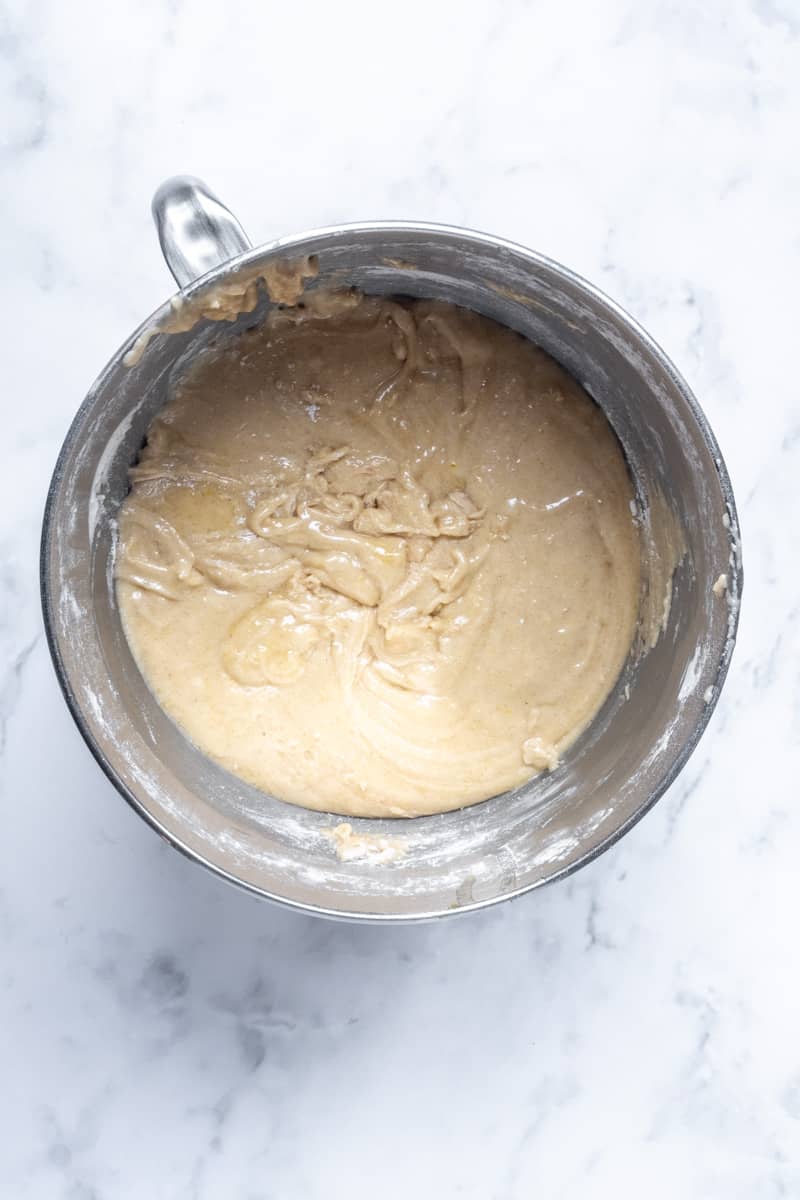
STEP 3: Add the wet ingredients. In a jug combine the milk and vanilla. With the motor of the stand mixer running, slowly pour this into the cake batter. Continue until all of the milk and vanilla has been added. Switch off the mixer, scrape down the sides of the bowl and mix again briefly at medium-high speed. The cake batter should be lump free.
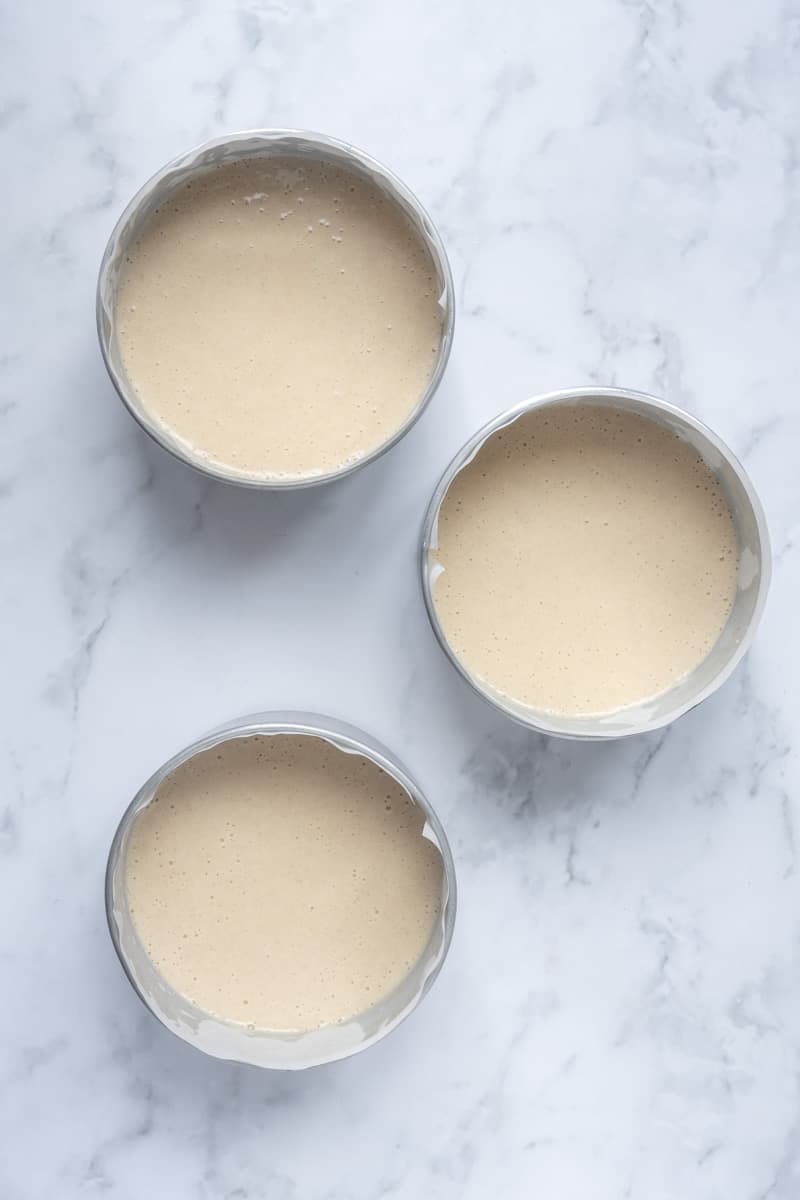
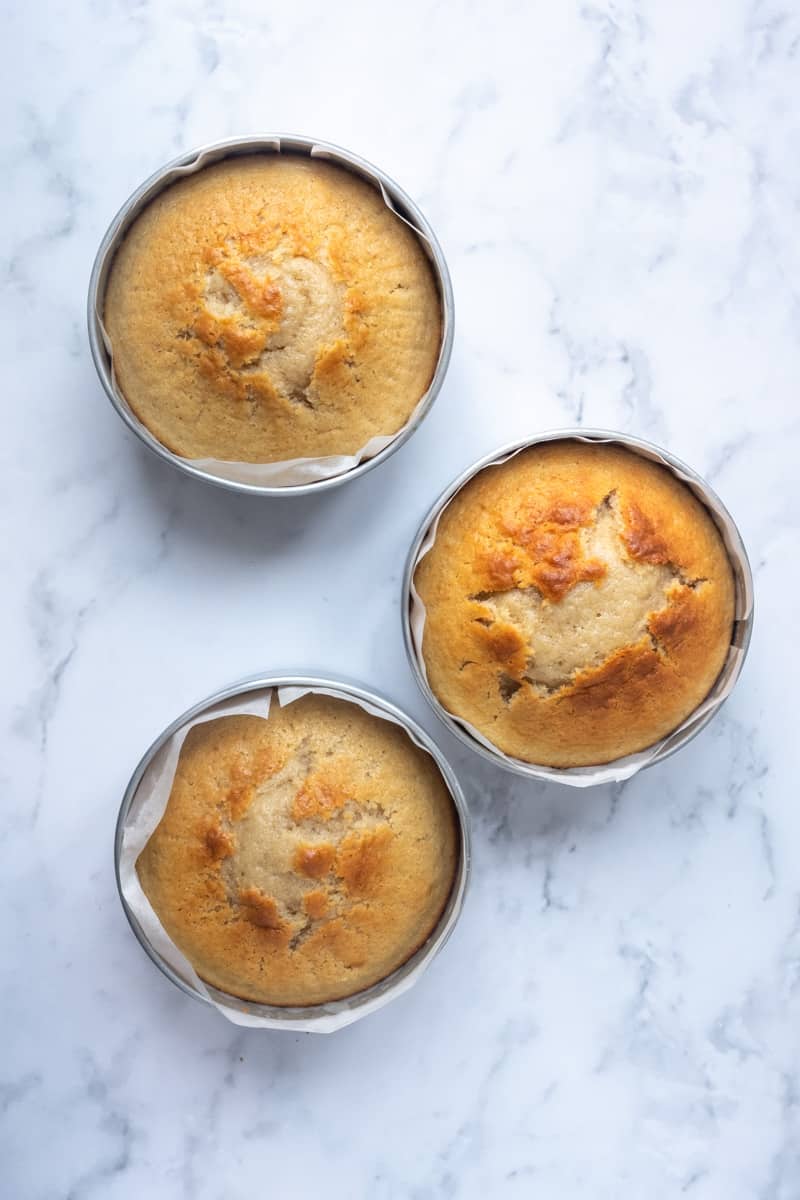
STEP 4: Bake. Pour the cake batter into the prepared cake tins lined with parchment paper and bake in a preheated oven for 40 minutes or until a skewer inserted into the center of the cake comes out clean. Allow the cakes to cool completely in their tins.
STEP 5: Refrigerate. Remove the cakes from their tins and wrap them in plastic wrap. Place them in the fridge overnight or for at least 8 hours before decorating.

Instructions for Biscoff frosting
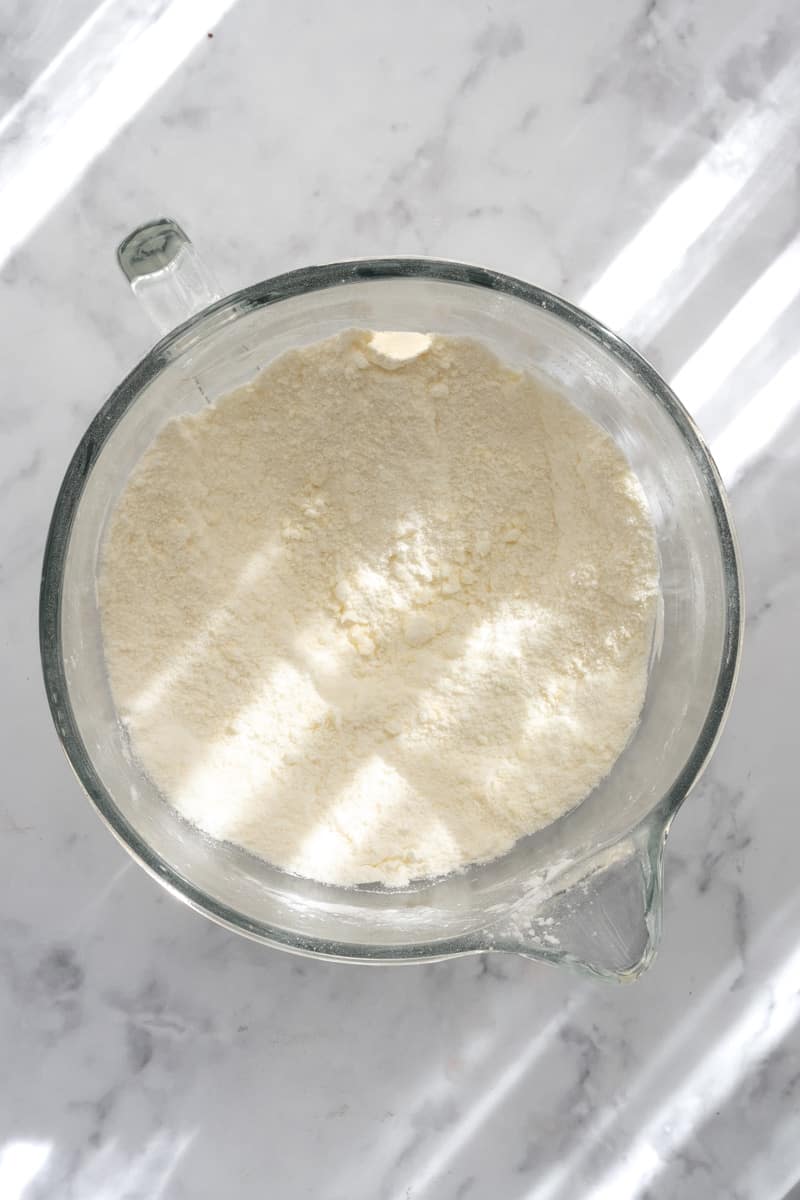
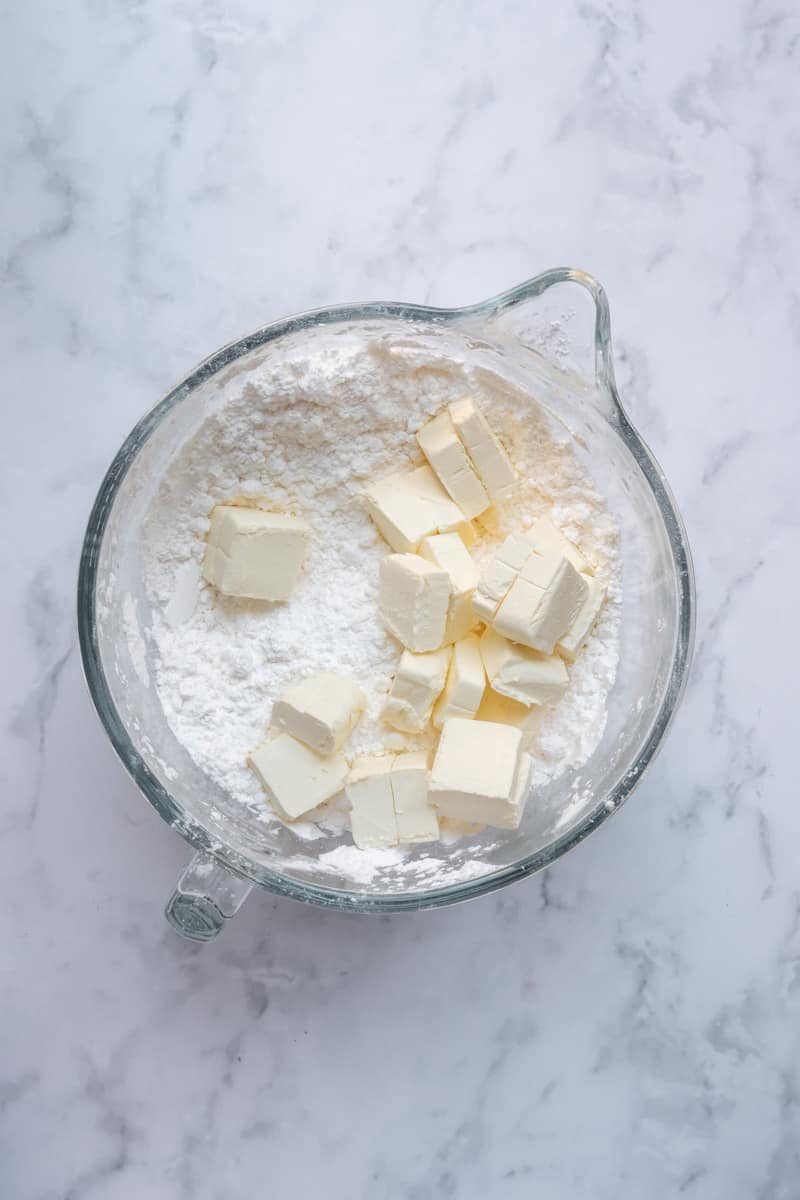
STEP 1: Beat butter and icing sugar. In a bowl of a stand mixer fitted with a paddle attachment add the butter and icing sugar. Beat at medium speed until combined. The mixture should look like fine bread crumbs, with no large lumps of butter.
STEP 2: Add cream cheese. Cube the cream cheese and add this to the butter and powdered sugar mixture. Beat at high speed until combined. Scrape down the sides of the bowl and beat again until light and fluffy. Keep scraping down the sides of the bowl to ensure the frosting is beating evenly.
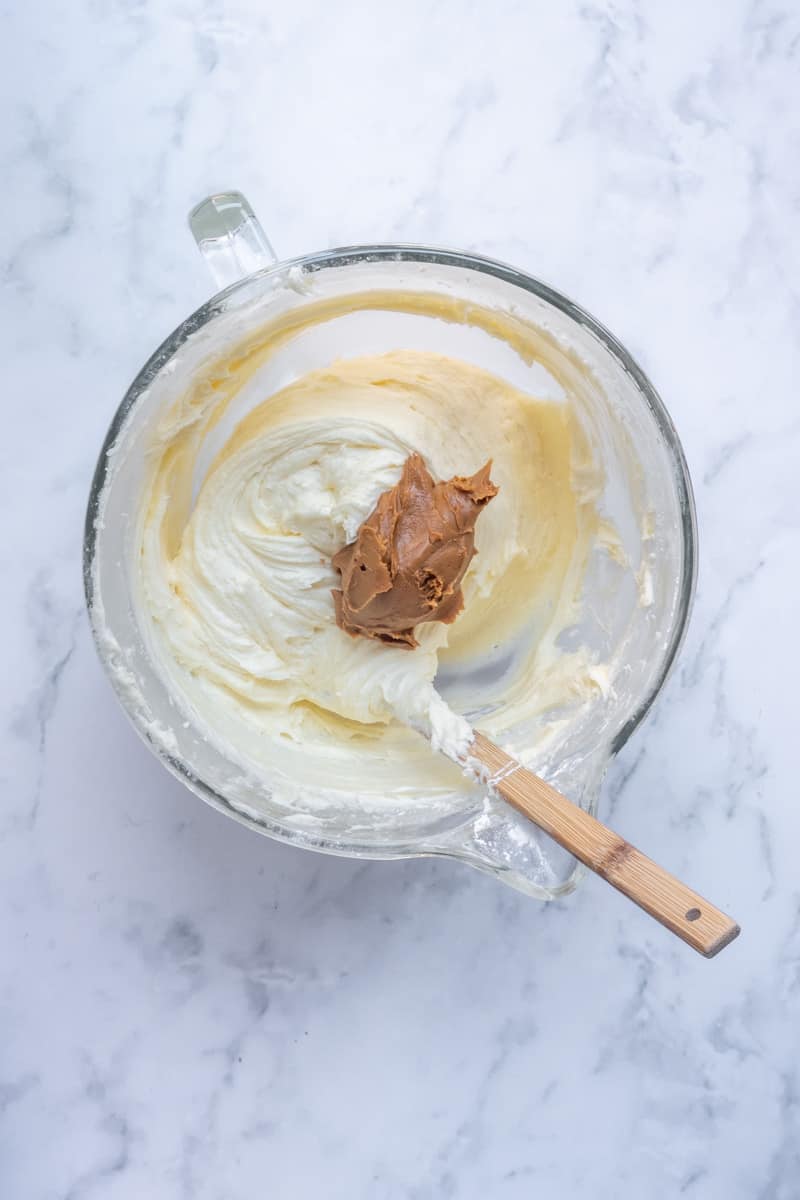
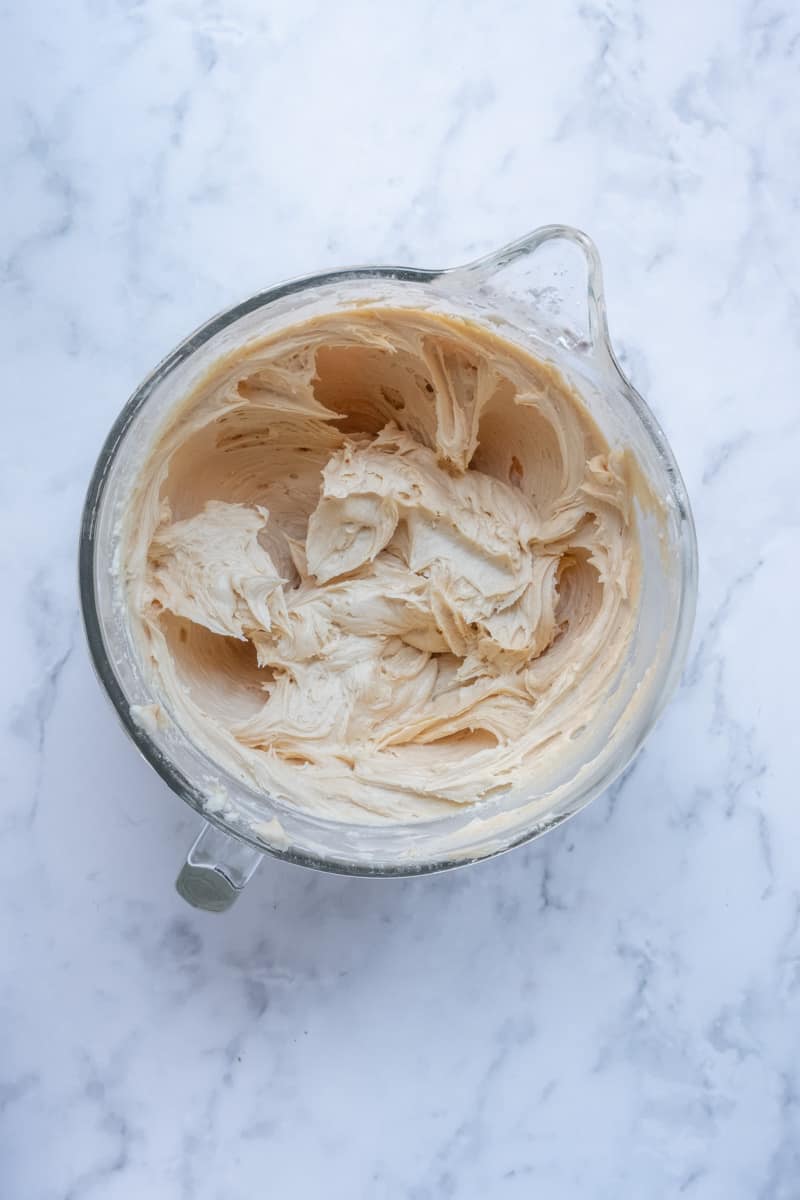
STEP 3: Add vanilla and cookie butter. Once the frosting is light and fluffy, add the Biscoff butter and vanilla. Beat at high speed until combined, scrape the sides of the bowl and mix again. Fill a piping bag with the Biscoff frosting and use it to decorate immediately.
Instructions for decorating
STEP 1: Level the cakes. Remove the cakes from the fridge and discard the plastic wrap. Use a sharp bread knife or cake leveler to level each cake layer.
STEP 2: Stack. Place a small amount of frosting onto a cake plate and secure one layer of cake onto the plate. Spread a layer of frosting over the top surface of the cake and pipe a border of frosting around the circumference of the cake. Fill with a thin layer of softened cookie butter and crushed lotus biscuits. Continue to stack the next two layers.
STEP 3: Crumb coat. Pipe a thin layer of frosting on top of and around the cake. Use a cake scraper to smooth out the frosting. Place the cake in the fridge to firm up for about an hour.
STEP 4: Final frosting. Add the remaining buttercream back to a bowl of an electric mixer fitted with a paddle attachment and beat at medium-high speed until fluffy. Add the milk one tablespoon at a time with the mixer running. Place the frosting into a piping bag. Cover the top and sides of the cake with the frosting and smooth out with a cake scraper.
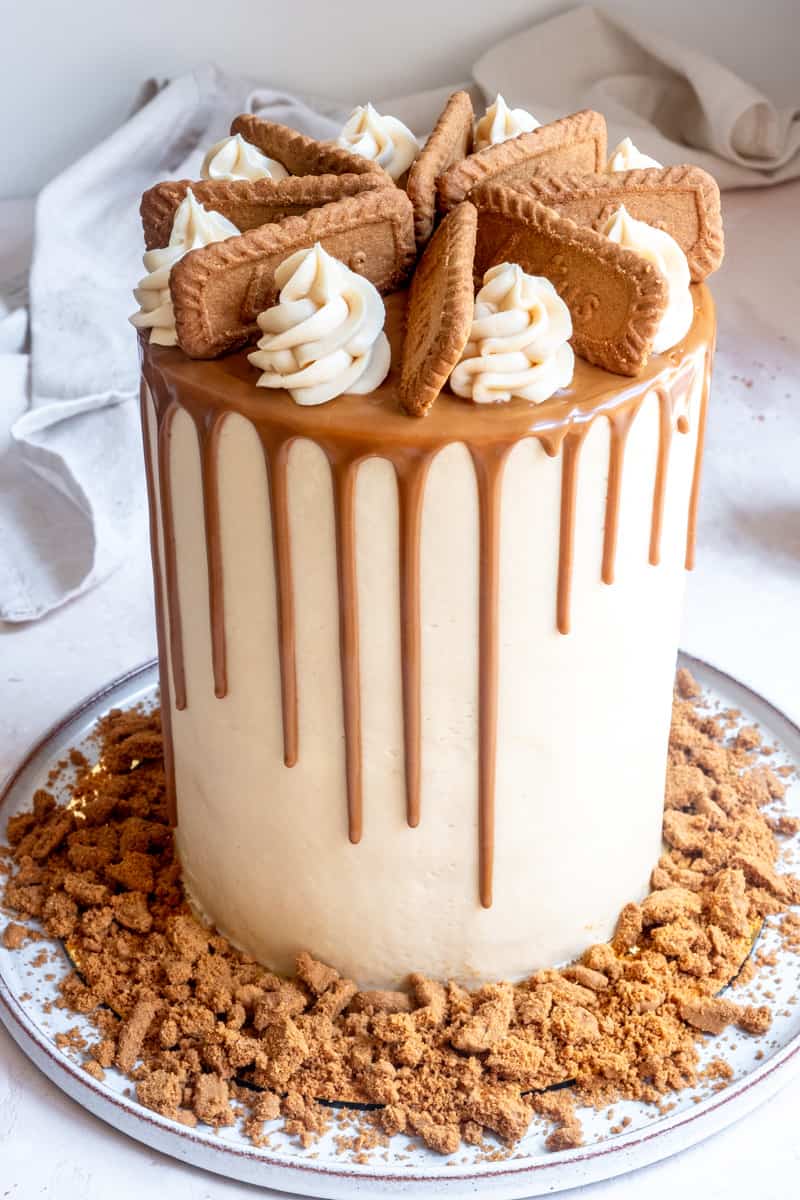
STEP 5: Decorate. Melt the Biscoff spread in the microwave for 20- 30 seconds and place it into a piping bag. Use the piping bag to help create drips down the sides of the cake and cover the cake's top with the melted cookie butter. Pipe swirls of frosting onto the top of the cake and then decorate the cake with lotus biscuits.
Hint: Always make sure you are using soft just whipped frosting. Otherwise decorating will be very difficult. If you feel the frosting is too hard just beat it again.
Equipment
When it comes to decorating tall celebration cakes, equipment is very important. To make this cake you will need a stand mixer, 3x 15cm (6 inches) round cake tins, disposable piping bags, a star nozzle, a cake turntable, and a cake smoothing scraper.
The list of equipment above is needed to make a cake that looks like the one I have made. However, if you do not have this equipment, you can use a knife to swirl the frosting onto the cake instead of trying to make it smooth. I do recommend always using an electric stand or hand mixer for the frosting.
Storage
This cake will keep fresh and moist for up to three days when kept at room temperature covered with a cake dome or sliced and placed in an airtight container. Be sure to store the cake out of direct sunlight.
For the best-tasting cakes, I don't recommend freezing them. However, if you have leftover decorated cake, wrap the cake in cling film and store it in the freezer for up to 3 months. Bring it to room temperature before eating it.
Top tips for the best results
- Use an oven thermometer to check the temperature of your oven.
- Allow the cakes to set in the fridge overnight to make decorating easier.
- Be sure to whip the cookie butter buttercream until it is light and fluffy.
- Cold cakes are easier to decorate, so if this process gets difficult put the cake back in the fridge to firm up before continuing.
This Biscoff cake recipe is special! And will require some time to decorate but you will be so proud to serve this on your next special occasion. If you have any questions get in touch via email or on Instagram and I will answer all of your cake questions!
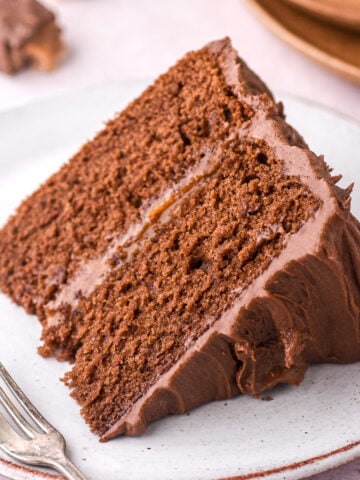
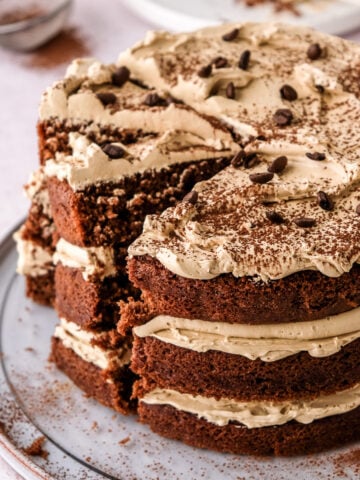
If you are looking for other cake recipes, try this Chocolate and Caramel Cake or this recipe for a Funfetti and Milkybar Bundt Cake.
Happy Baking
With Love,
Kitty
📖 Recipe
Lotus Biscoff Cake
Equipment
- 3x 15cm dia cake pans (6 inches)
- 2 disposable piping bags
- 1 star piping nozzle
- cake turntable
- cake scraper
Ingredients
Vanilla Cinnamon Cake
- 230 ml sunflower oil
- 500 grams granulated white sugar
- 6 extra-large eggs
- 580 grams self-raising flour
- 1 teaspoon salt
- 1 teaspoon ground cinnamon
- 2 teaspoon vanilla extract
- 540 ml whole milk
Biscoff Buttercream
- 150 grams unsalted butter
- 900 grams icing sugar
- 400 grams cream cheese
- 125 grams Biscoff spread, smooth plus extra for layering
- 2 teaspoon vanilla extract
- 2 tablespoon whole milk
- 100 grams Lotus biscuits, crushed
Biscoff Drip
- 80 grams Biscoff spread, smooth
- 8 Lotus biscuits, whole
Instructions
Vanilla Cinnamon Cake
- Preheat the oven to 180°C (350°F), then oil and line 3 x 15cm (6-inch) round cake tins with parchment paper.
- In a bowl of a stand mixer fitted with a whisk attachment add the eggs, sugar, and sunflower oil. Beat at medium speed until combined, about 2 minutes.
- In a large bowl sift together the flour, salt, and cinnamon. Add this mixture to the egg mixture at once and beat the two together until just combined.
- In a jug combine the milk and vanilla. With the motor running, slowly pour this into the cake batter. Once added, switch off the mixer, scrape down the sides of the bowl and mix again briefly at medium-high speed. The cake batter should be lump free.
- Pour the cake batter into the prepared cake tins and bake in a preheated oven for 40 minutes or until a skewer inserted into the center of the cake comes out clean. Allow the cakes to cool completely in their tins, then wrap the layers in cling film and refrigerate overnight.
Biscoff Buttercream
- In a bowl of a stand mixer fitted with a paddle attachment add the butter and icing sugar. Beat at medium speed until combined. The mixture should look like fine bread crumbs.
- Add the cream cheese to the powdered sugar mixture. Beat at high speed until combined. Scrape down the sides of the bowl and beat again until light and fluffy, about 5 - 10 minutes.
- Once the frosting is light and fluffy, add 125g Biscoff butter and vanilla. Beat at high speed until combined, scrape the sides of the bowl and mix again. Fill a piping bag with the Biscoff frosting and use it to decorate immediately.
Decorate
- Remove the cakes from the fridge and discard the plastic wrap. Use a sharp bread knife or cake leveler to level each cake layer.
- Secure one cake layer onto a cake plate with a little frosting. Spread a layer of frosting over the top surface of the cake and pipe a border of frosting around the circumference of the cake.
- Fill the border with a thin layer of softened melted cookie butter and crushed lotus biscuits. Continue to stack the next two layers.
- Pipe a thin layer of frosting on top of and around the cake. Use a cake scraper to smooth out the frosting. Place the cake in the fridge to firm up for about an hour.
- Add the remaining buttercream back to a bowl of an electric mixer fitted with a paddle attachment and beat at medium-high speed until fluffy. Add the milk one tablespoon at a time with the mixer running. Place the frosting into a piping bag. Cover the top and side of the cake with the frosting and smooth out with a cake scraper.
- Melt 80g of Biscoff spread in the microwave for 30 seconds and place it into a piping bag. Use the piping bag to help create drips down the sides of the cake and cover the top with the cookie butter. Pipe swirls of frosting onto the top of the cake and then decorate the cake with lotus biscuits. Enjoy!
Nutrition
FAQ
To make Biscoff drips, place the cookie butter in a microwave-safe bowl and heat it for about 20 to thirty seconds. Mix the cookie butter to ensure that all of it is melted and then use it to fill cupcakes or as a drip on cakes.
Biscoff cakes are usually made from layers of vanilla or vanilla spiced cakes layered together with a Biscoff cookie butter frosting. Often these cakes are decorated with a Biscoff drip and crushed Lotus biscuits.
Julia Mack says
It was super easy to follow and turned out almost as good as yours. Thank you for this recipe.
Alex says
Absolutely delicious will make it again for my husband’s birthday!