
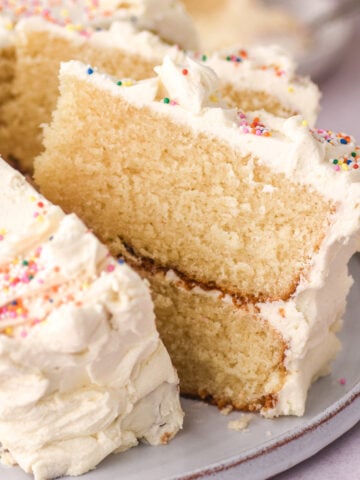
I can think of no better birthday present than a homemade birthday cake! This recipe is for a Mini Birthday Cake made from a delicious vanilla sponge covered in a fluffy vanilla frosting, bake it and pop it into a takeaway box and I promise you'll have the winning gift for any birthday celebration because who doesn't love mini cakes!
If you're looking for the perfect vanilla cupcakes to go along with this cake, then try these Moist Vanilla Cupcakes without Butter. This is one of my favourite recipes on the blog!
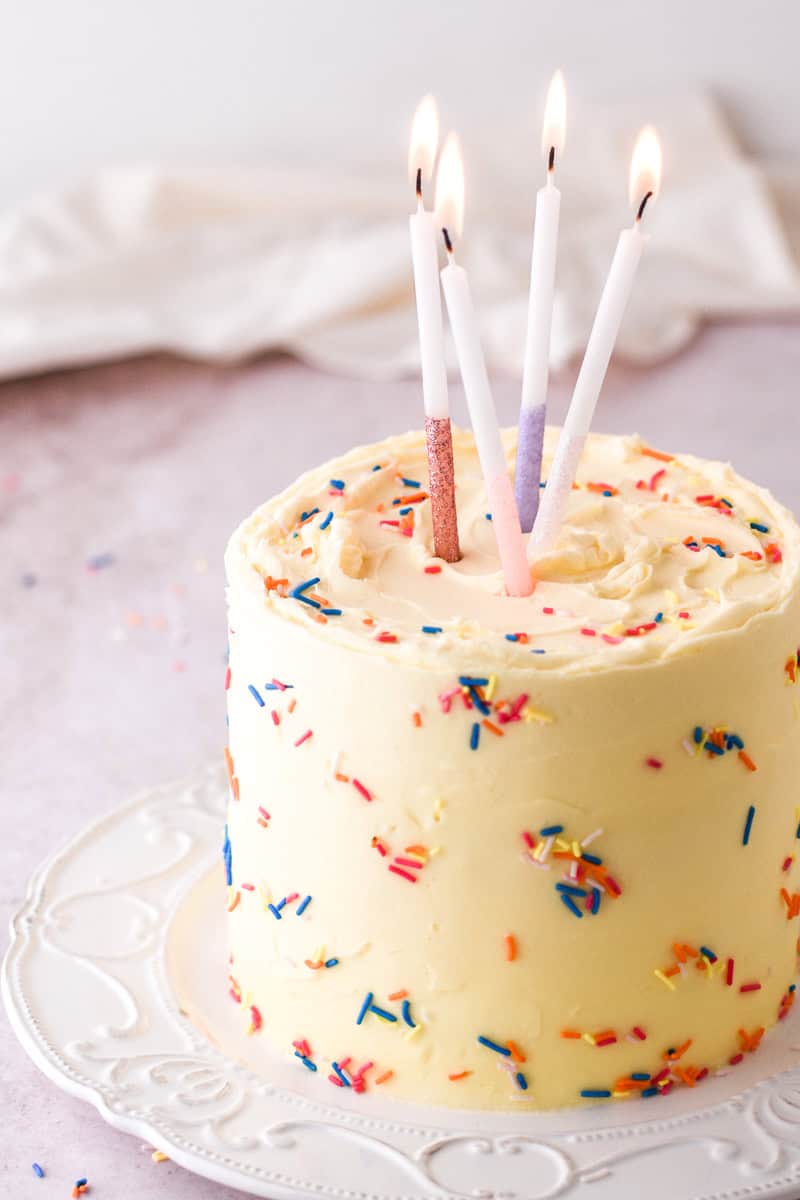
This mini layer cake recipe makes a 6-inch vanilla cake, two cake layers frosted with a classic vanilla buttercream. This cake can feed up to 8 people depending on how generous the birthday gal (or guy!) is feeling!
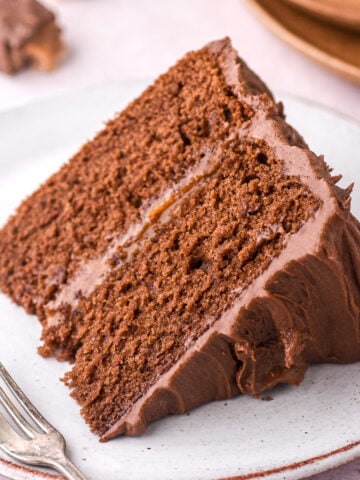
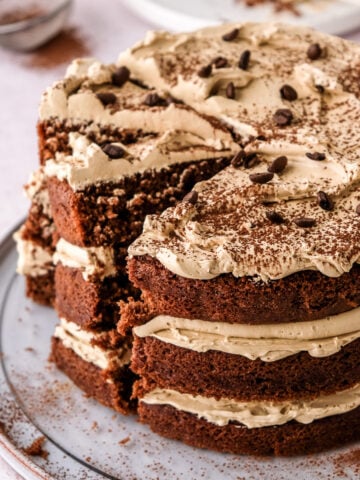
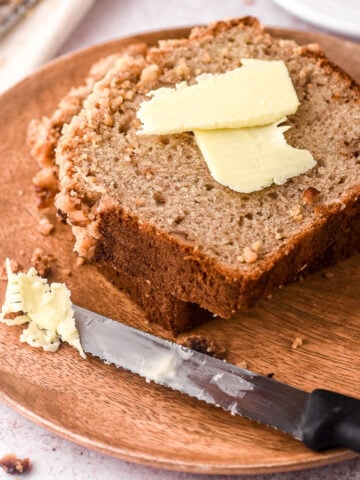
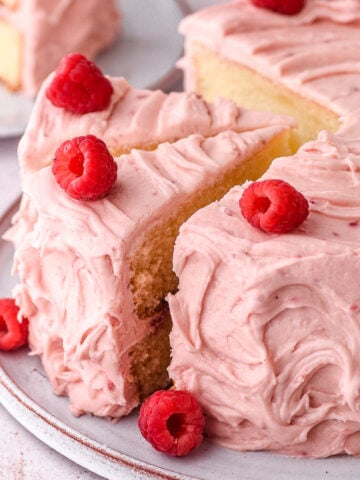
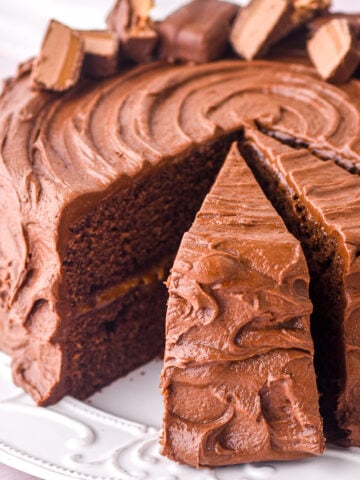
If you love arriving at events with baked treats, then you have to look at these delicious cake recipes, like this recipe for a Vanilla and Chocolate Cake or this Vanilla Sheet Cake. And if you are looking for a showstopper birthday cake, this Chocolate Espresso Martini Cake is a must!
Jump to:
Ingredients
You will need the simple ingredients listed below to make this cute little birthday cake. Remember always to use fresh room temperature ingredients when baking.
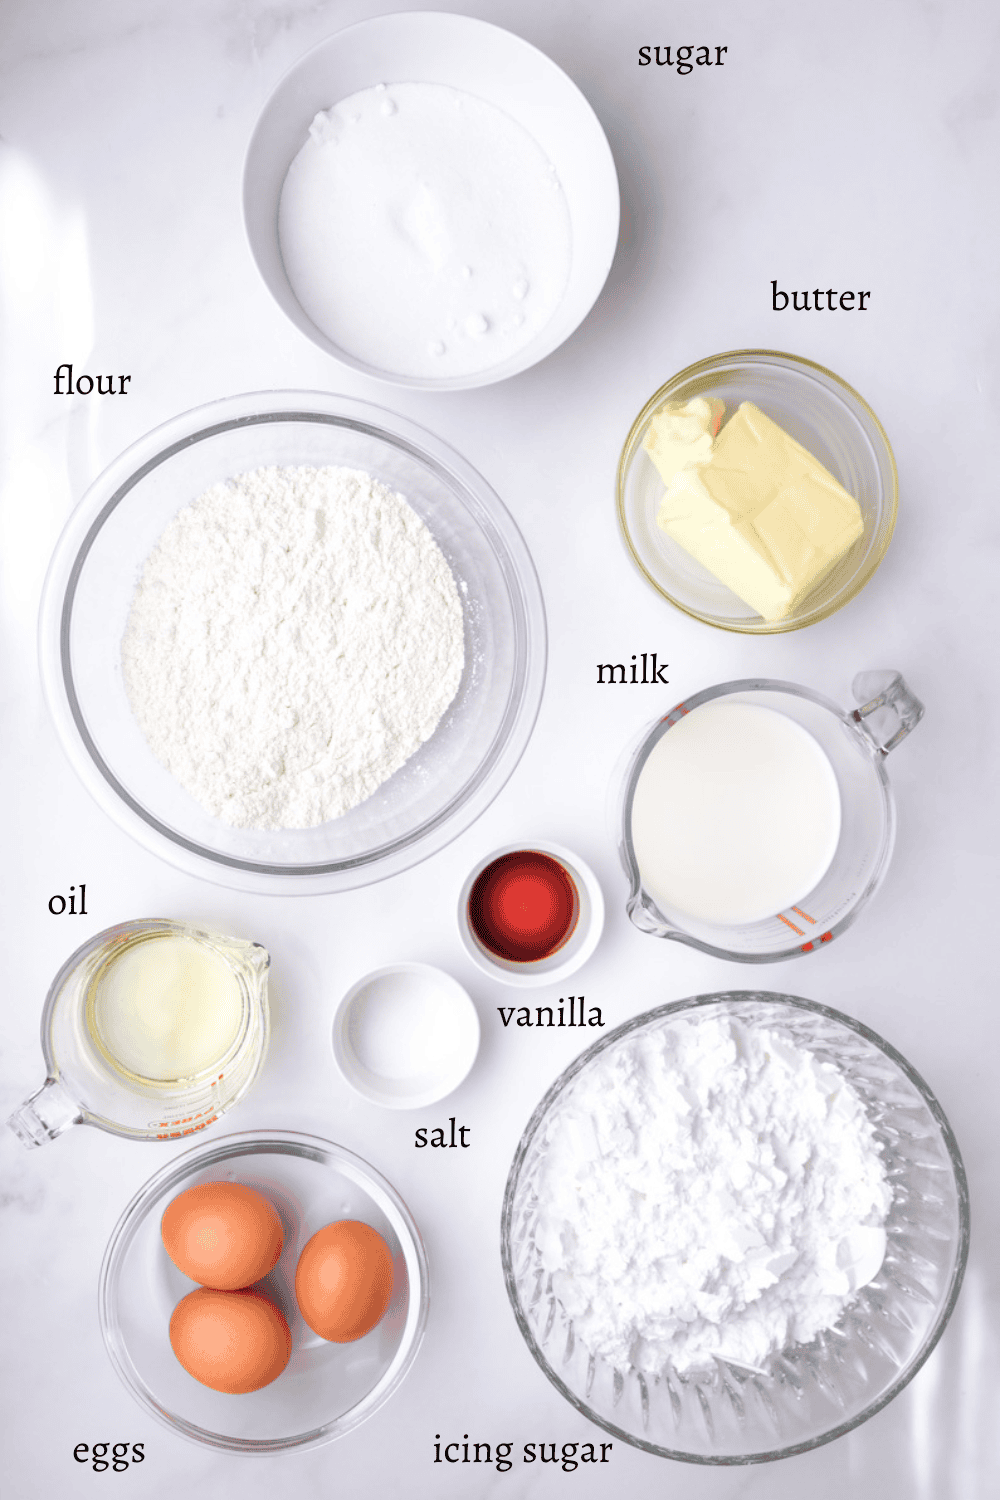
- Granulated white sugar
- Sunflower oil
- Unsalted butter
- Extra-large eggs
- Self-raising flour
- Salt
- Whole milk
- Vanilla extract
- Powdered sugar
- Sprinkles
Extra-large eggs - out of their shell, the eggs I use weigh 56 grams, if you aren't sure if you have the same eggs - weigh the eggs you have and adjust accordingly.
Sunflower oil - This cake uses oil instead of butter for extra moistness! Use neutral-tasting vegetable oil for this recipe like sunflower or canola oil.
Self-raising flour - If you can't find self-raising flour, you can use cake flour or all-purpose flour mixed with baking powder. Check the recommendations on the packaging of your baking powder to decide how much should be added.
Vanilla extract - choose a quality vanilla extract rather than essence to give this recipe a great vanilla flavor. You can also use vanilla bean paste.
Unsalted butter - use unsalted butter rather than salted butter for this recipe. It is also essential that you use room-temperature butter for both the cake batter and the frosting
See the recipe card for quantities.
Instructions
Follow the simple instructions below to make this mini vanilla cake recipe. First, you will bake the cake and then make the frosting. I recommend allowing the cake to cool completely before trying to decorate it.
Instructions for cake
STEP 1: Preheat the oven. Preheat the oven to 180°C (350°F) and line 2x 15cm (6 inches) round cake tins with oil and parchment paper.
STEP 2: Beat butter, sugar, and oil. Add the oil, butter, and sugar to a bowl of a stand mixer fitted with a paddle attachment. Beat at medium-high speed until light and fluffy, about 4 minutes.
STEP 3: Add the whole eggs. Add the eggs to the butter and sugar mixture one at a time. Beat well between each addition and scrape down the sides of the bowl often.

STEP 4: Add dry ingredients. Sift together the salt and self-raising flour then add the flour mixture to the egg and sugar mixture. Beat at low speed until just combined.
STEP 5: Add wet ingredients. Combine the milk and vanilla extract in a jug, and slowly pour this into the cake mixture with the mixer's motor running at low speed. Scrape down the sides of the bowl and mix again, making sure it is lump-free.


STEP 6: Bake. Pour the cake batter into the prepared cake pans and bake in a preheated oven for 40 minutes or until a cake tester inserted into the center of the cake comes out clean.
STEP 7: Cool. Allow the cakes to cool in their tins for 30 minutes, before turning them onto a wire rack to cool completely. I recommend wrapping the cakes in clingfilm and placing them in the fridge overnight before decorating.


Instructions for frosting
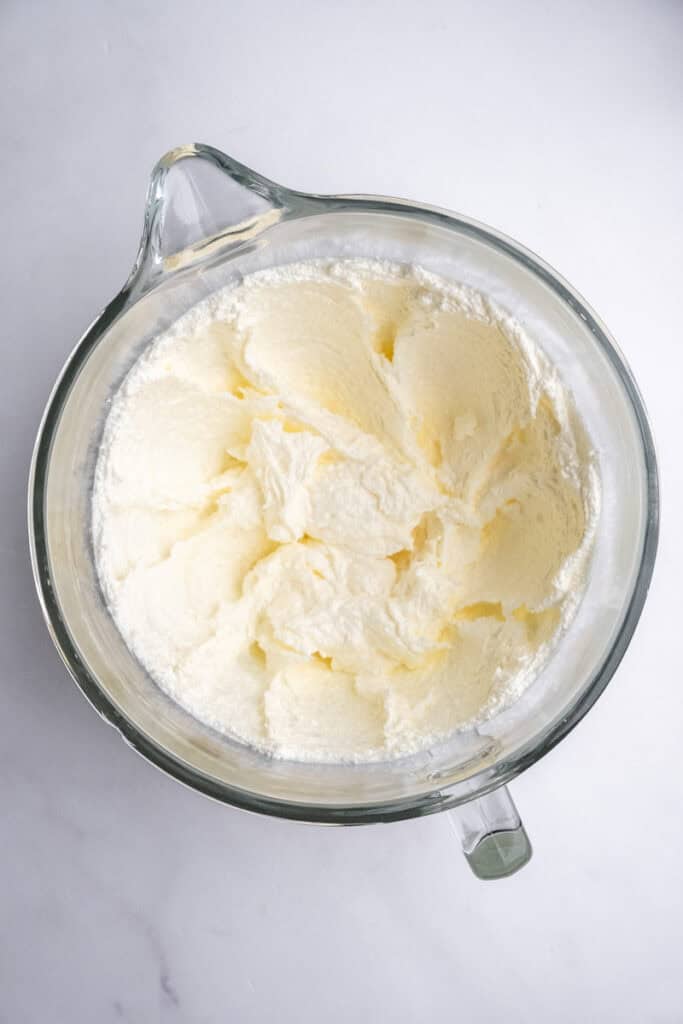
STEP 1: Beat butter. To a bowl of an electric mixer fitted with a whisk attachment, add the butter. Beat at medium-high speed until the butter is light in color and well whipped.
STEP 2: Add the icing sugar. Sift the icing sugar over the whipped butter and beat again, at medium-low speed to begin with, and then increase the speed to medium-high. Beat until fluffy, about 4 minutes.


STEP 3: Add milk and vanilla. Add the milk and vanilla to the frosting mixture, and beat until light and fluffy, scraping down the sides of the bowl often.


STEP 4: Add to a piping bag. Transfer the frosting to a piping bag and use immediately.
Instructions for assembly
STEP 1: Level cake layers. Use a sharp serrated knife to level the cake layers if needed.
STEP 2: Layer with frosting. Secure the first cake layer onto a cake plate with a bit of frosting. Pipe a layer of frosting over the surface of the cake and smooth this out with a spatula.
STEP 3: Secure the top cake layer. Place the second layer of cake onto the first layer with the cut side facing down.
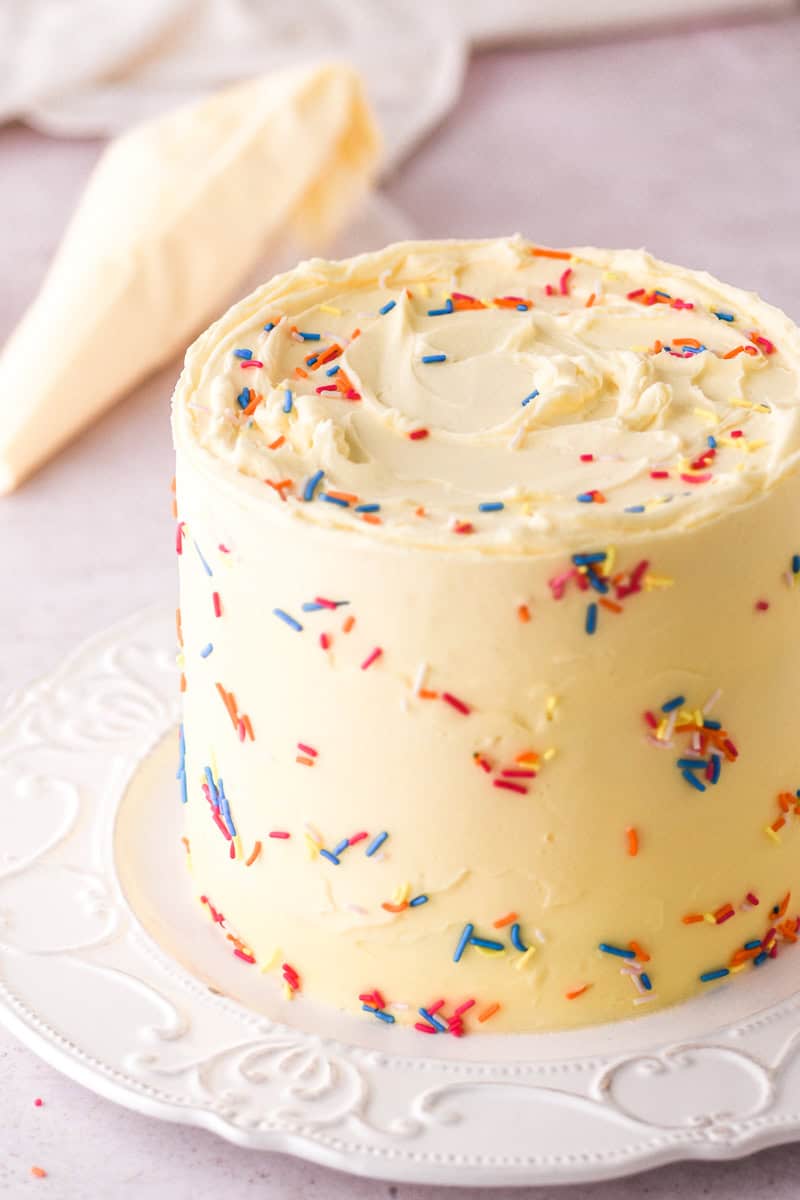
STEP 4: Cover the cake with frosting. Pipe the frosting over the tops and sides of the cake and use a spatula or cake scraper to even this out. Decorate as desired.
Hint: Never frost warm cakes, otherwise the buttercream will melt and you will have a decorating disaster to deal with!
Variations
This mini birthday cake recipe is the perfect cake recipe to get creative with, you can tailor it to the birthday girl's (or boy's!) taste by changing up the frostings, piping cute sayings onto the cake, coloring the frosting to their favorite, covering it in sprinkles, their favorite chocolates, or fresh flowers!
To get you started have a look at these frosting recipes for some inspiration! These are some of my favourties
Equipment
For this delicious cake recipe, you will need two 15cm cake tins, a rubber spatula, a small offset spatula for decorating, a wire rack for cooling, a disposable piping bag, and an electric mixer. For transporting this cake you may need a cake board, or just decorate this cake on a serving plate.
I always use a stand mixer or electric whisk to make the buttercream as they help ensure a fluffy frosting. I also always use an accurate kitchen scale when baking.
Storage
Store any leftover cake in an airtight container at room temperature for up to 4 days.
To freeze this cake, either place the whole cake in an airtight container or cut the frosted cake into individual slices and wrap each slice of cake in plastic wrap. Freeze for up to 3 months. Defrost the cake in the fridge overnight, then bring the slices to room temperature before consuming.
Top Tip
For the perfect birthday cake, follow the tips below
- For a fluffy buttercream make sure the butter is at room temperature.
- Check the true temperature of your oven with an oven thermometer before placing the cake into the oven.
- Allow the cake to cool completely on a cooling rack before decorating.
FAQ
You can bake this cake in different-sized cake pans, you will just need to adjust the baking time. Larger tins will need less time and smaller tins, more time to bake.
The eggs I have used weigh about 56 grams out of their shell. Weigh the eggs you have and adjust accordingly.
You can make this cake using a combination of baking powder and cake flour. It is best to check the packing of your baking powder to determine how much should be added. Remember to sift the two together before using them.
Related
Looking for other recipes like this? Try these:
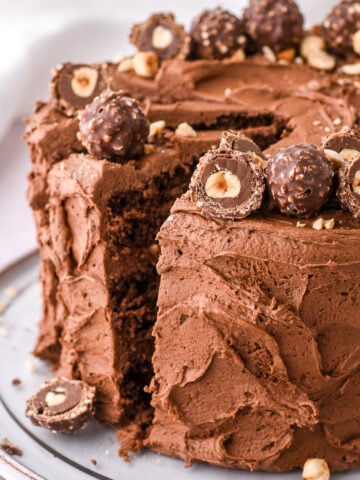

The next time you're stumped over a birthday gift, just remember homemade gifts are the best type of gifts and this tiny layer cake recipe is just the way to show your love! For the chocolate lover try out this Mini Chocolate Cake or this Naked Chocolate Cake.
This easy birthday cake recipe is perfect for beginner bakers because small cakes are so much easier to handle and decorate! This cake can be made for a variety of special occasions, it's perfect for date night on Valentine's Day, a mini message cake for any occasion, or even as a smash cake for a 1st birthday celebration.
If you tried this recipe and love it as much as I do, please leave a comment and star review below. I love hearing from all of you!
Don't forget to sign up for the newsletter and follow along @with_love_kitty to make sure you never miss a recipe!
Happy Baking
With Love,
Kitty
📖 Recipe

Mini Birthday Cake
Equipment
- 2x 15cm (6 inches) round cake tins
Ingredients
Vanilla Cake
- 75 ml sunflower oil
- 75 g unsalted butter
- 230 g sugar white, granulated
- 3 eggs extra-large
- 200 g self-raising flour
- ½ teaspoon salt
- 270 ml whole milk
- 1 teaspoon vanilla extract
Vanilla Frosting
- 250 g unsalted butter
- 500 g powdered sugar
- 1 teaspoon vanilla extract
- 2 tablespoon whole milk
- sprinkles to decorate
Instructions
Vanilla Cake
- Preheat the oven to 180°C (350°F) and line 2x 15cm (6 inches) round cake tins with oil and parchment paper.
- Add the oil, butter, and sugar to a bowl of a stand mixer fitted with a paddle attachment. Beat at medium-high speed until light and fluffy, about 4 minutes.
- Add the eggs to the butter and sugar mixture one at a time. Beat well between each addition and scrape down the sides of the bowl often.
- Sift together the salt and self-raising flour then add the flour mixture to the egg and sugar mixture. Beat at low speed until just combined.
- Combine the milk and vanilla extract in a jug, and slowly pour this into the cake mixture with the mixer's motor running at low speed. Scrape down the sides of the bowl and mix again, making sure it is lump-free.
- Pour the cake batter into the prepared cake pan and bake in a preheated oven for 40 minutes or until a cake tester inserted into the center of the cake comes out clean. Allow the cake to cool in its tin for 30 minutes, before turning it onto a wire rack to cool completely.
Vanilla Frosting
- To a bowl of an electric mixer fitted with a whisk attachment, add the butter. Beat at medium-high speed until the butter is light in color and well whipped.
- Sift the icing sugar over the whipped butter and beat again, at medium-low speed to begin with, and then increase the speed to medium-high. Beat until fluffy, about 4 minutes.
- Add the milk and vanilla to the frosting mixture, and beat until light and fluffy, scraping down the sides of the bowl often.
- Transfer the frosting to a piping bag and use immediately.
Decorating
- Level the cake layers with a serrated knife if necessary.
- Secure the first cake layer onto a cake plate with a bit of frosting. Pipe a layer of frosting over the surface of the cake and smooth this out with a spatula.
- Place the second layer of cake onto the first layer with the cut side facing down.
- Pipe the frosting over the tops and sides of the cake and use a spatula or cake scraper to even this out. Decorate with sprinkles and candles. Enjoy!
Alex says
The perfect mini cake recipe! Will definitely make this again
Tania Mitchell says
Hi there ….. i think you have made an error with the cake pan size. You mention a 15cm (9”) pan but 15cm is a 6” pan. I just wanted to bring it to your attention. Thank you for this recipe. 🌸
withlovekitty2020 says
Hi Tania, thank you so much for bringing this to my attention. I have made the change 🙂