
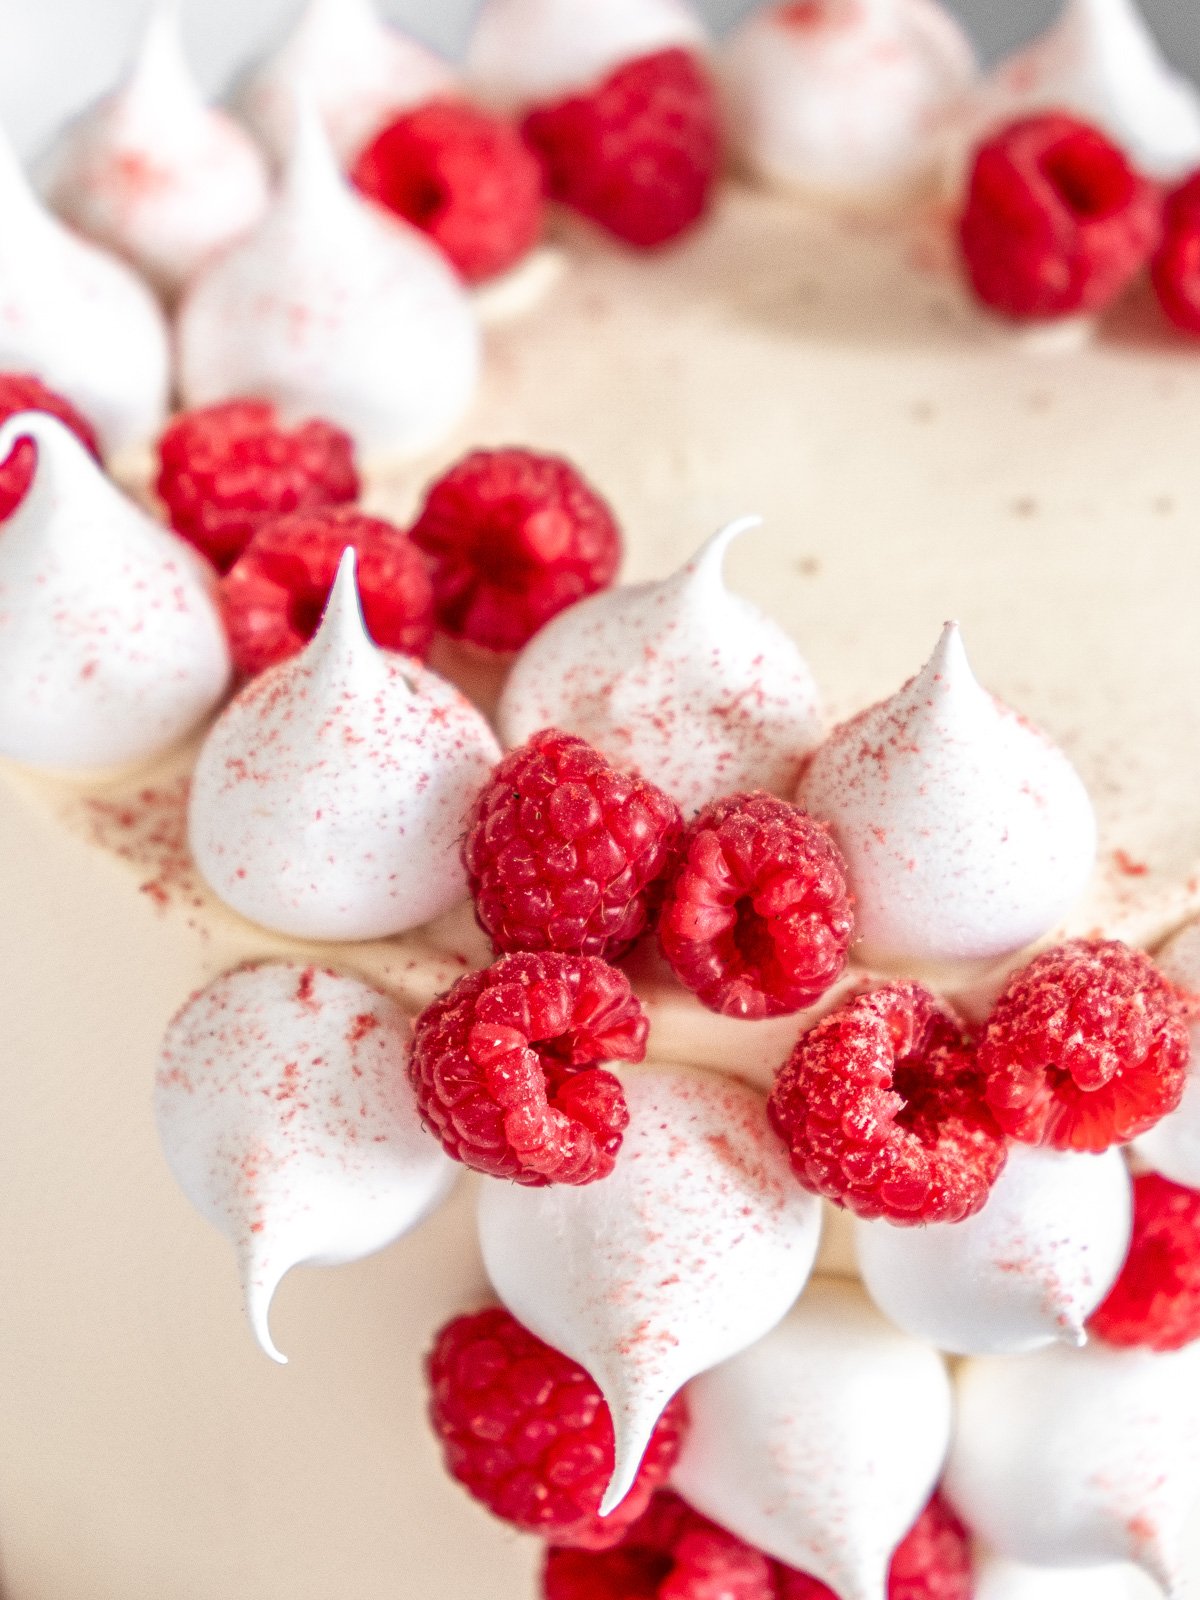
These Mini Meringues are crisp on the outside, slightly chewy in the center, and perfectly white after baking. This easy mini meringue kisses recipe uses just three ingredients and is perfect for decorating cakes or cupcakes, or for enjoying as a light, low-calorie treat!
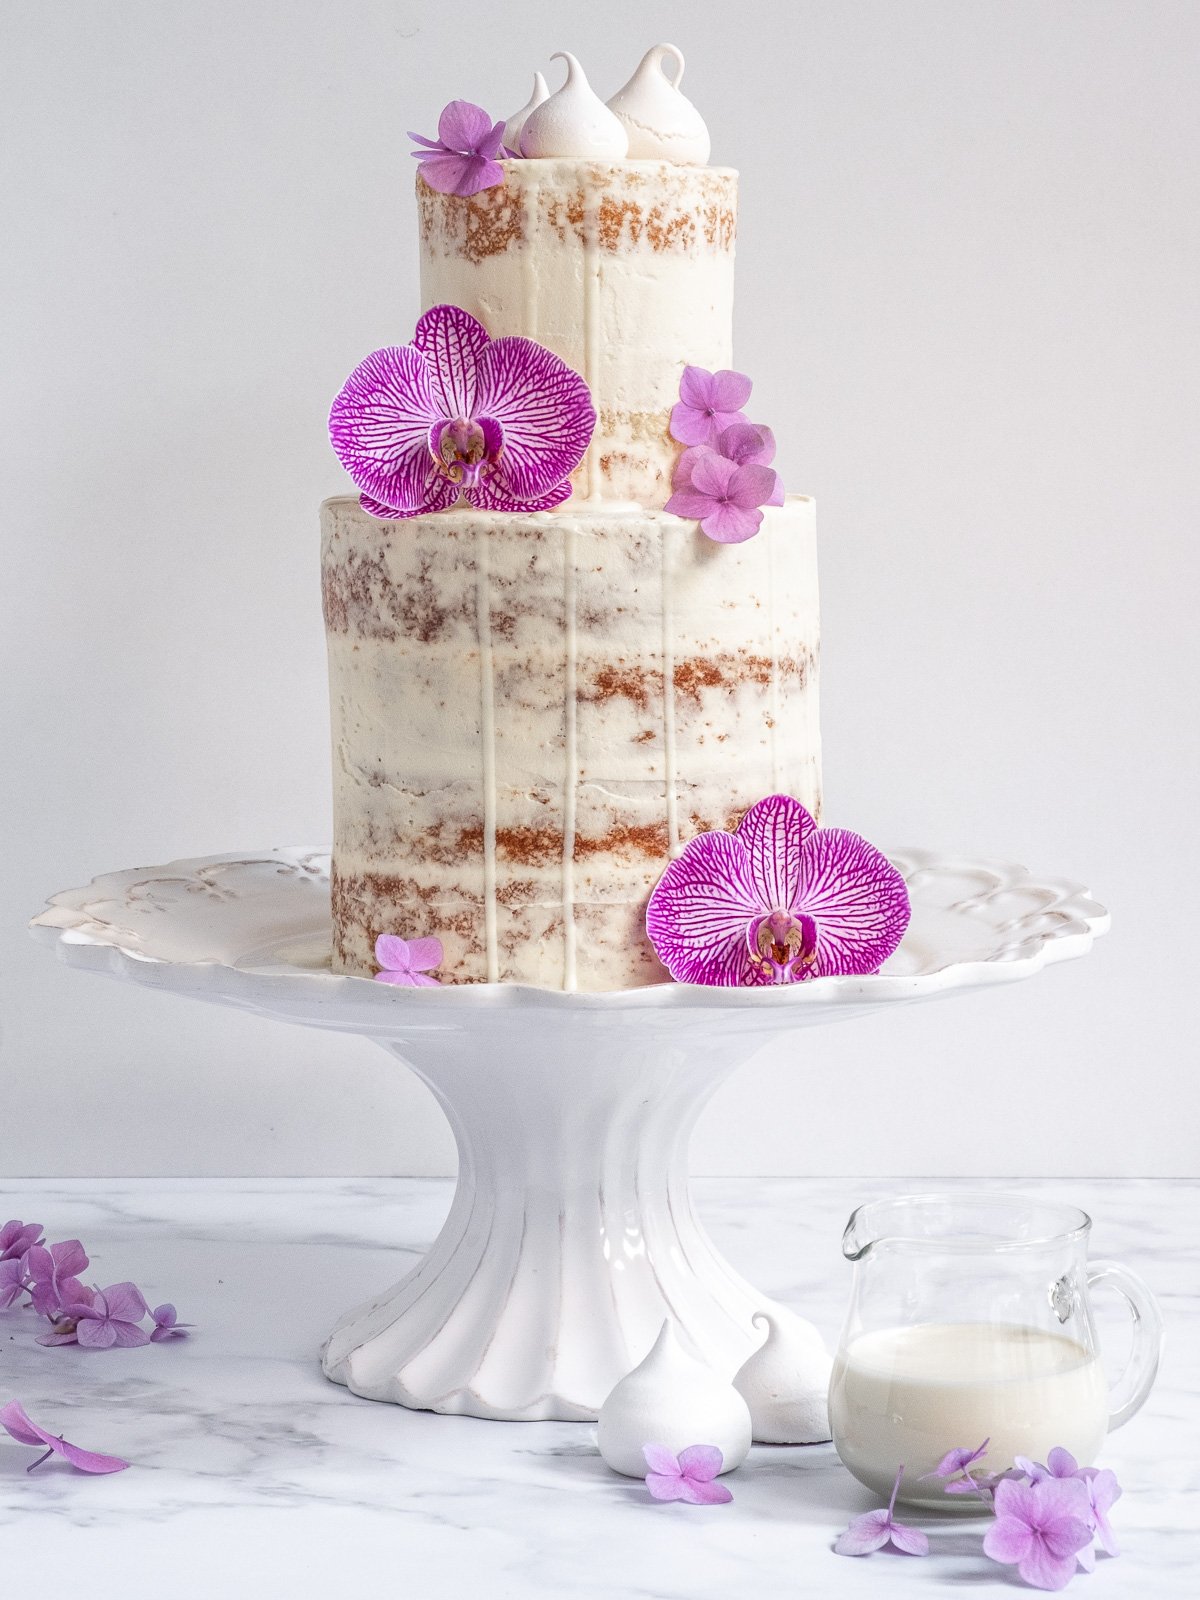
I love making these mini meringues as cake decorations, so try them out on my collection of Easy & Delicious Cake Recipes.
Why This Mini Meringue Recipe Works (Perfect Mini Meringue Kisses)
- Recipe name: Mini Meringues
- Ready in: 2hrs 40 minutes (including cooling time)
- Serves: 50 mini meringue cookies
- Main ingredients: Egg whites, superfine sugar, and white vinegar.
- Perfect for: Decorating cakes and cupcakes, festive cookie boxes, or as a low-calorie after-dinner sweet treat!
- Why I love it: This meringue kisses recipe only needs 3 ingredients, and if you follow it perfectly, you'll be so proud of how they turn out!
- Calories: 13kcal
SUMMARIZE & SAVE THIS CONTENT ON
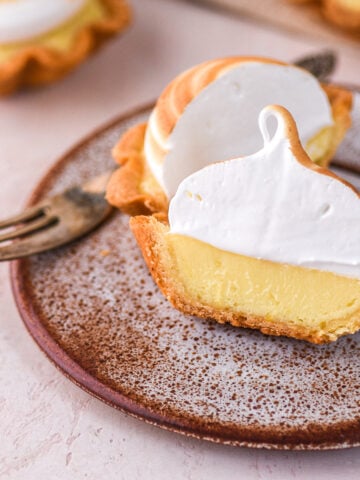
If you love all things meringue, then you need to try out this recipe for Lemon Meringue Pie, these Chocolate Meringues, or this recipe for Lemon Meringue Kisses.
Jump to:
- Why This Mini Meringue Recipe Works (Perfect Mini Meringue Kisses)
- Key Ingredients for Mini Meringue Kisses
- Variations
- How to Make Mini Meringues
- What is The Ratio of Egg Whites to Sugar for Meringues
- How To Set The Oven For Mini Meringues
- Storage
- Expert Tips
- Mini Meringues & Mini Meringue Kisses FAQs
- More Easy Meringue Recipes
- 📖 Recipe
When recipe testing for these mini meringues, I had so many fails! I tried all the meringue techniques I could. Swiss to Italian and even heating the sugar before adding it to the egg whites. But none of these recipes worked every single time, and that is what I was looking for. A meringue recipe that would work every single time I made it, and one that was super easy! And strangely enough, the simplest method, when followed correctly, gave the perfect results.
In theory, making mini meringues should be pretty simple. After all, it is basically only two ingredients (in this case, I have also added an acid) that have been whipped together to form stiff peaks, piped, and baked to perfection. But often the simplest things are the most difficult to perfect.
From experience, most of what can go wrong goes wrong in the oven. Not understanding your oven and the actual temperature inside it is what leads to overbaked, bumpy, and sad-looking meringues. But keep reading, and those days will be over for you, too!
Key Ingredients for Mini Meringue Kisses
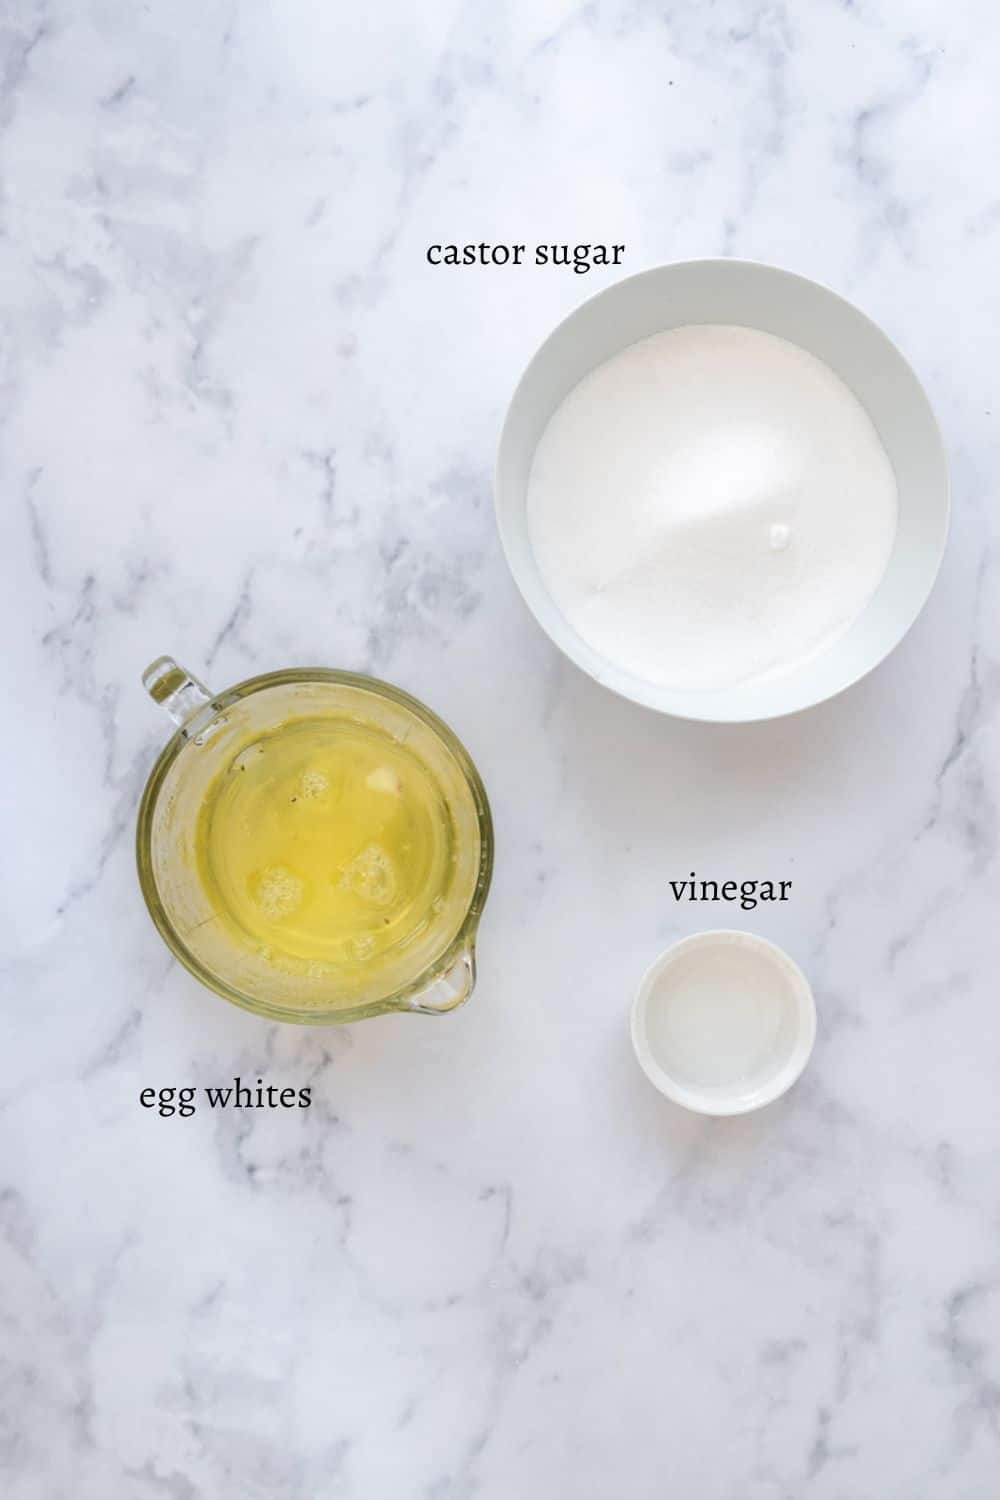
- Egg whites - I like separating my eggs carefully when they are straight from the fridge. I then allow the fresh egg whites to come to room temperature before beating for the best volume. If you are wondering what to make with the yolks, try this White Chocolate Crème Brûlée.
- Castor sugar - Use a superfine white sugar for this recipe.
- White vinegar - Use white grape vinegar for this recipe. If you don't have vinegar, you can also use lemon juice.
These simple ingredients create stable mini meringues with the perfect texture for piping mini meringue kisses.
See the recipe card for full information on ingredients and quantities.
Variations
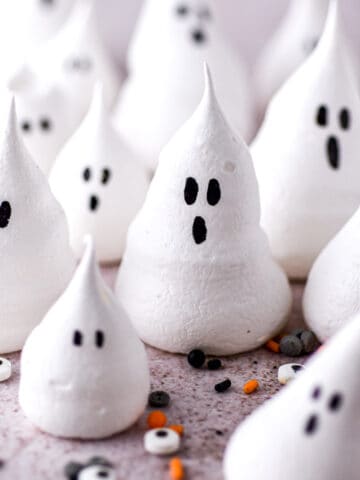
This recipe is for classic white mini meringues, but you can add food coloring to the mixture to create an assortment of colorful meringues. Add the food coloring once the meringue has reached stiff peaks, and beat briefly again until the mixture is colored.
If you're looking for recipes to decorate with these mini meringue kisses, have a look at my collection of Easy Homemade Birthday Cakes for Beginners. And be sure not to miss this Biscoff Layer Cake or this Vanilla Cake with Strawberry Filling, both of which would be beautiful with a few mini meringues on top!
How to Make Mini Meringues
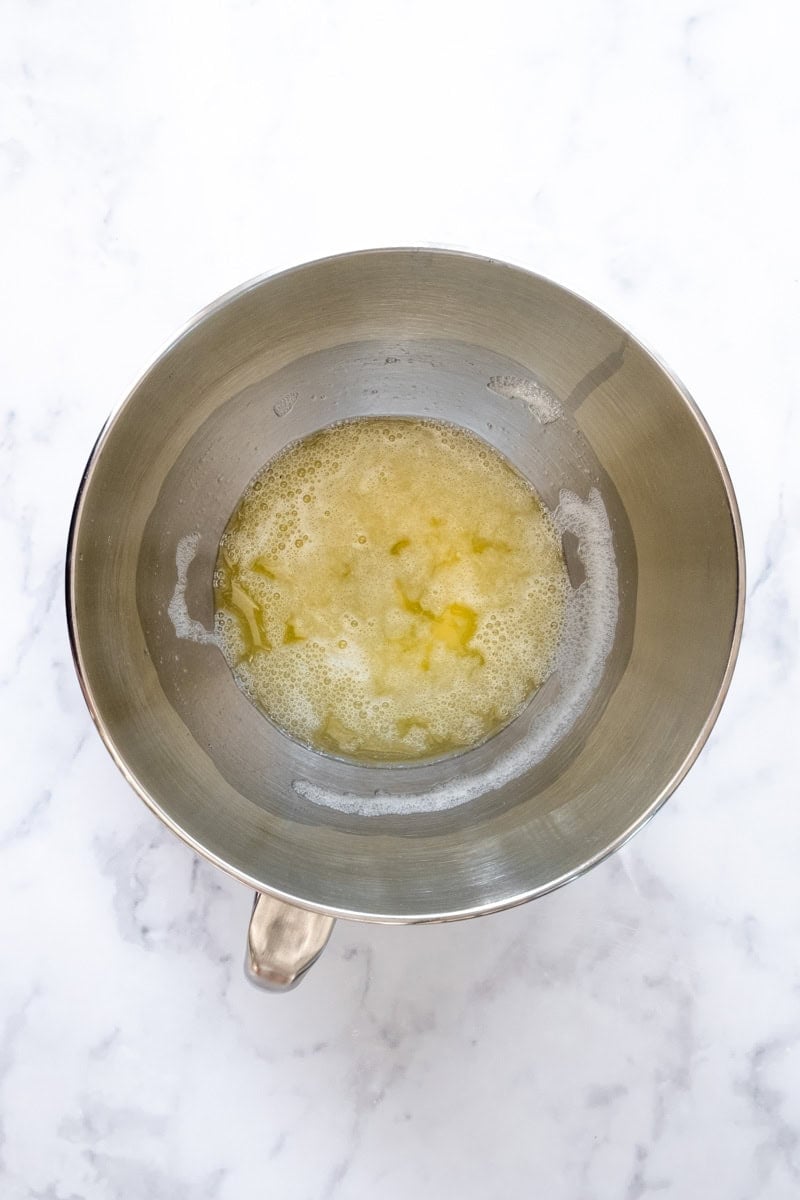
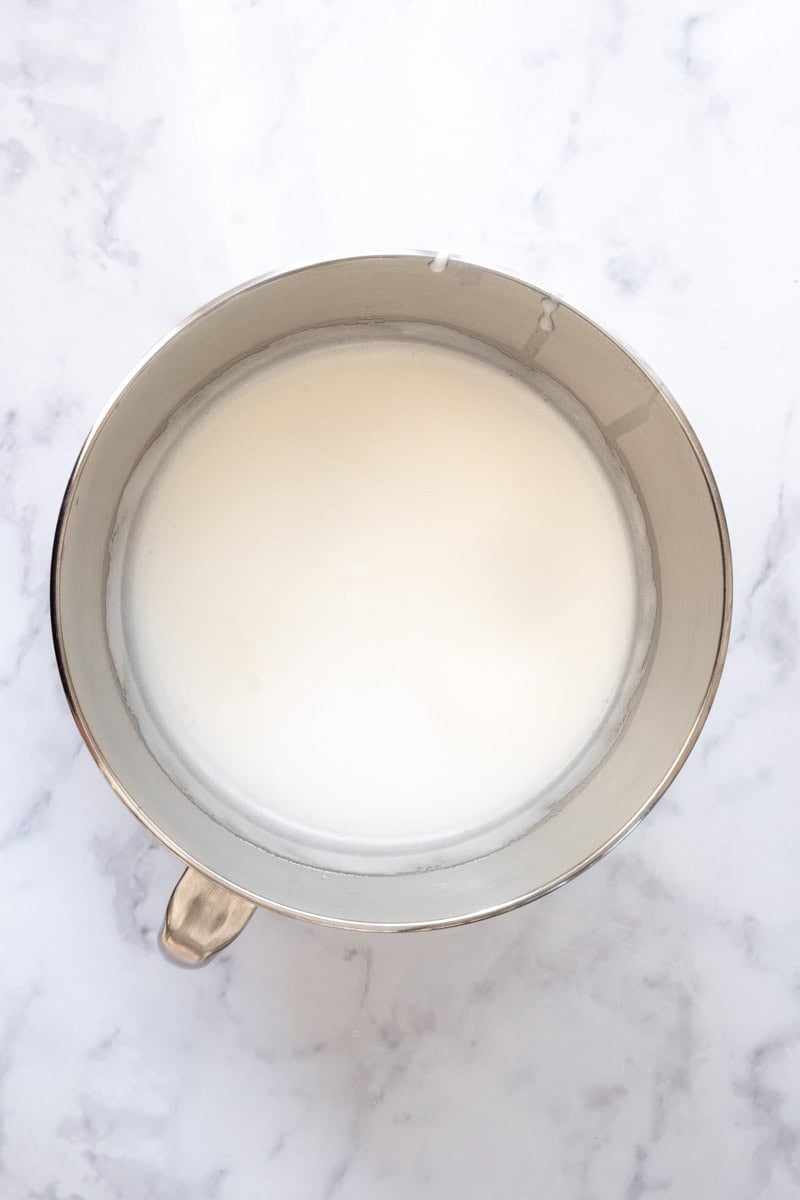
- Step 1: Set the oven temperature to 100°C (210°F) fan-forced, and line two large baking trays with parchment paper. Start by separating the egg whites from the egg yolks. Make sure there are no traces of egg yolk in the egg whites. Add the whites to a bowl of a stand mixer fitted with a whisk attachment. Beat at low speed until small bubbles form.
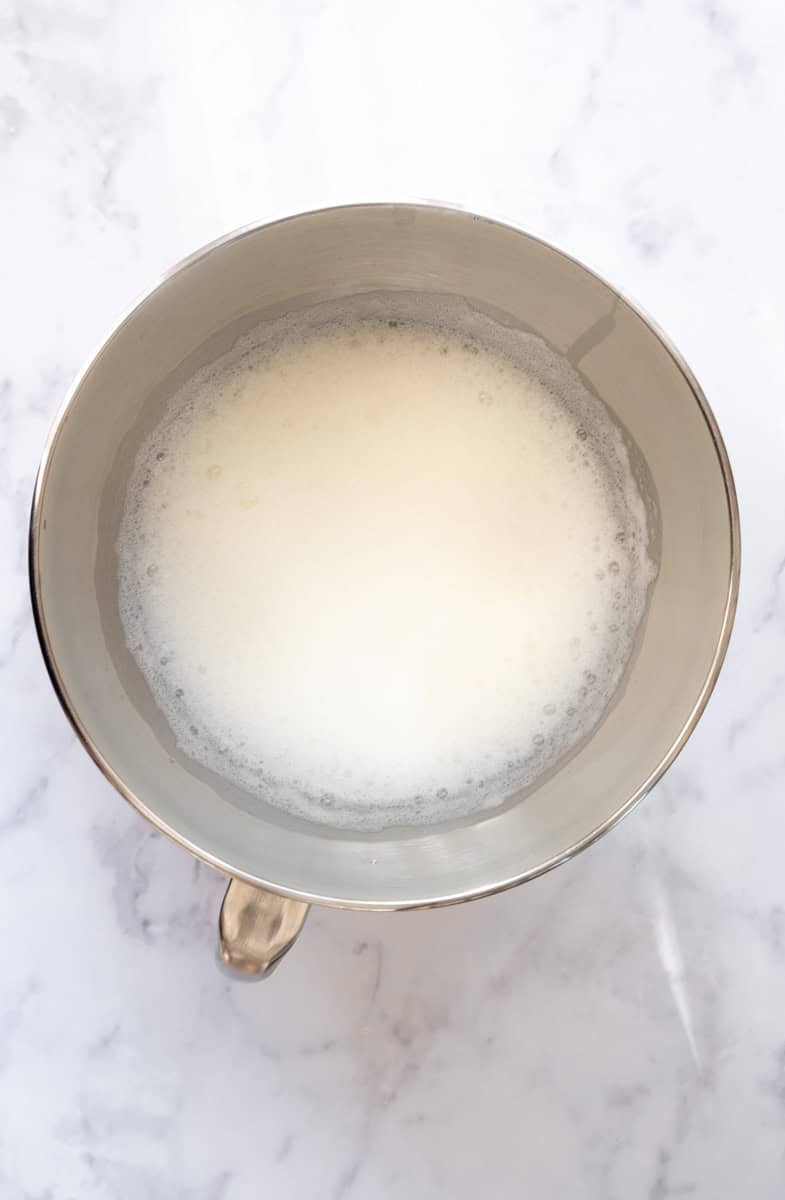
- Step 2: Increase the mixer speed to medium. Once the whites are frothy and white, add the vinegar and then add the sugar gradually, a tablespoon at a time, with the mixer running.
- Step 3: Once all the sugar has been added, increase the speed to high and beat for 10 minutes, until the mixture looks like smooth, white marshmallow fluff with stiff peaks.
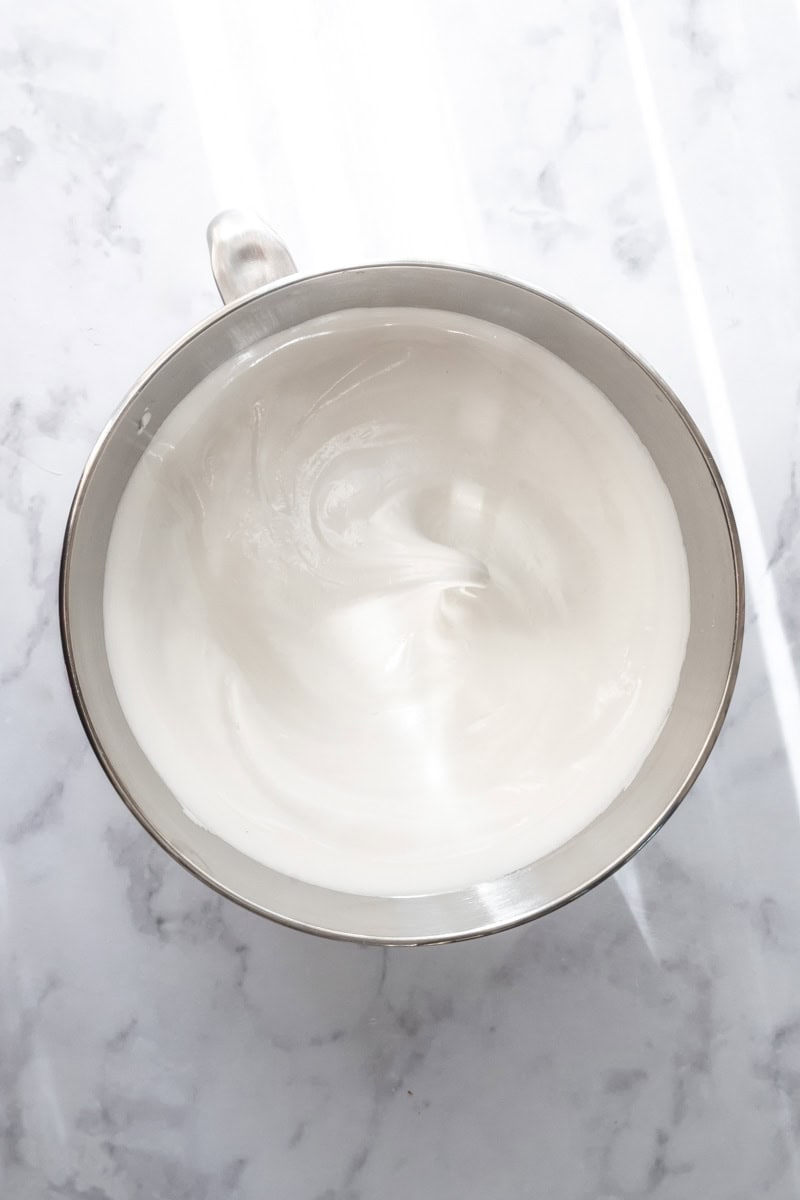
- Step 4: When you lift the whisk out of the mixture, you want a very sturdy peak to form; this is when the meringue mixture is ready. If you do not mix the meringue for long enough, you will have issues when baking. You need to look for these peaks when whisking and piping; they are the best indication that your meringue has been whisked enough.
- Step 5: Add the whipped meringue mixture to a piping bag fitted with your chosen nozzle. Pipe the meringues onto the prepared baking trays.
- Step 6: Bake the meringues in a preheated oven for about 20 minutes, or until the bottoms lift easily off the parchment paper. Switch off the oven and let the meringues dry out for about 2 hours or overnight. Store in an airtight container until needed.

What is The Ratio of Egg Whites to Sugar for Meringues
This recipe is pretty simple: the egg whites are half the weight of the caster sugar. This is a basic ratio I use in most of my meringue recipes. If you have leftover egg whites from other recipes and are not sure what to do with them, weigh the egg whites, then double their weight; that number will give you the amount of sugar you need. One teaspoon of vinegar is enough for about 80-100g of egg whites. If you have leftover egg yolks, try this Vanilla Bean Custard or this White Chocolate Crème Brûlée.
How To Set The Oven For Mini Meringues
The oven plays a big role in the success of this recipe, so to set your oven properly for meringues, an oven thermometer is absolutely necessary. This is because some ovens, when set, run at temperatures higher or lower than the dial indicates. And because mini meringues are so temperature-sensitive, you need to make sure your oven is set properly.
My ideal temperature setting is 100°C (210°F) in a fan-forced oven. When using these settings, the mini meringues bake perfectly. When the mini meringues have finished baking, switch off the oven and let them dry out further as it cools.
I am 60. First time ever my mini meringues worked. Thank you so much
- Lou
Storage
Store your homemade mini meringues in an airtight container at room temperature. Be delicate when handling your baked meringues so as not to break off those perfect peaks you worked so hard to achieve. If stored correctly, these easy cookies can be kept for up to 2 weeks.
Expert Tips
- Carefully separate the egg whites from the egg yolks. If you get traces of egg yolk in your whites, they will not whip properly.
- Be sure the mixing bowl and whisk are properly cleaned and free of any traces of fat. To be safe, cut a lemon in half, rub it inside the bowl and along the whisk, then rinse under very hot water.
- Start whipping the egg whites slowly. Once there are a few bubbles throughout the whites, you can increase the speed of the electric mixer.
- Add the sugar one tablespoon at a time; do not rush this process.
- Once the sugar and vinegar have been added, set a timer and whip the whites for an additional 7 to 10 minutes to ensure they are fully whipped.
- If you aren't sure if your whites are properly whipped, remove the whisk attachment, swirl it through the mixture, and then lift it. A stiff peak should form on the whisk, which is how you know you have whipped the mixture sufficiently.
- Another way to test whether you have whisked the mixture properly is to look for the little peaks on each mini meringue when piping. If you don't have them, you haven't mixed the meringue properly.
- Do not let the whipped meringues sit for too long before piping them. Otherwise, the texture will change, and you risk losing all your hard work.
Mini Meringues & Mini Meringue Kisses FAQs
This is because the egg white mixture wasn't beaten long enough; make sure it reaches stiff peaks before piping.
The oven is too hot, and the mini meringue cookies are baking too quickly. Use an oven thermometer to help set the oven properly.
You should use the egg yolks from this recipe for Vanilla Bean Custard or for this recipe for a Strawberry Custard Tart.
Easy meringue baking recipes are perfect for using up leftover egg whites. You should try these Mini Meringues, these Mini Mango Pavlovas, or these Funfetti Cupcakes with Marshmallow Frosting.
I love using these easy mini meringue kisses to decorate Easy Cupcake Recipes from Scratch. They also make great decorations for desserts like this Malva Pudding or for cakes like this Vanilla Raspberry Cake.
Yes, mini meringue kisses bake best in a fan-forced oven at 100°C (210°F). The fan helps dry the mini meringues evenly, keeping them white and crisp.
More Easy Meringue Recipes


Once you've perfected these mini meringue cookies, you can try a slightly more advanced meringue recipe, like this Easter Pavlova or this Christmas Wreath Pavlova. You can adjust how they are decorated to suit any time of year!
📖 Recipe

Mini Meringues
Ingredients
- 80 grams egg whites room temperature
- 160 grams castor sugar
- 1 tsp white grape vinegar
- food coloring optional
Instructions
- Set the oven temperature to 100°C (210°F) fan-forced, and line two large baking trays with parchment paper.
- Start by separating the egg whites from the egg yolks. Make sure there are no traces of egg yolk in the egg whites.
- Add the whites to a bowl of a stand mixer fitted with a whisk attachment. Beat at a low speed until little bubbles form.
- Increase the mixer speed to medium-high and whisk until the egg whites are white and frothy. Add the vinegar while the mixer is running.
- With the mixer running at high speed, add the caster sugar one tablespoon at a time. Waiting about 45 sec between each addition.
- Once all of the sugar has been added, continue whipping the meringue for a further 10 minutes at high speed. At this stage, your meringue should have more than doubled in size, and stiff peaks should have formed. If you'd like to color the meringue mixture, you can do this now.
- Place the meringue mixture into a piping bag fitted with your chosen piping nozzle. Pipe the mini meringues onto your prepared trays.
- Bake the meringues in a preheated oven for about 20 minutes or until the bottom of the mini meringues lifts easily off the parchment paper.
- Switch off the oven and allow the meringues to dry out in the oven for about 2 hours or overnight. Store in an airtight container until needed.
Notes
- Make sure there are no traces of egg yolks in the egg whites, and no traces of fat on the whisk or in the mixing bowl.
- Do not let the whipped meringues sit for too long before piping them. Otherwise, the texture will change, and you risk losing all your hard work.
Lou says
I am 60. First time ever my mini meringues worked. Thank you so much
Cat Spiller says
Hi Lou 🙂 Reading this comment made me so happy, thanks for sharing your baking success!
RG says
Crisp on outside gooey inside- perfect!
They needed a good half hour in the oven though
Cat Spiller says
Hi Rebecca, thanks so much for your comment I am so glad you liked this recipe!
Astrid Furger says
it was very good.I succeed this time.thks
withlovekitty2020 says
Hi Astrid, I am so glad that they were a success! Thank you for your feedback 🙂
Alex says
This recipe really helped me improve my meringues! Thank you!
Julia Mack says
Thanks for all these tips! So helpful!